The Porta Decumana
The Porta Decumana
- Level
- 50 (Sync: 50)
- Item Level
- 42 (Sync: 60)
- Difficulty
- Normal
- Party size
- Light Party
4 man • 1 1
1  2
2 
- Unsyncing
- Allowed
- Time limit
- 60 minutes
- Phoenix Down
- Available
- Duty Finder
- Trials (A Realm Reborn)
- Roulette
- Main Scenario
- Tomestones
 100
100 - Req. quest
- The Ultimate Weapon
- Location
- Porta Decumana
- Region
- Thanalan
- Modes
 Duty Support
- Base EXP
 172,592
- Patch
- 6.1
 The Echo
- On wipe: +10% (max +50%)
Making your way through the Praetorium, you sweep aside wave after wave of defenders before finally coming face-to-face with Gaius van Baelsar himself. Unable to overcome you by his own hands, the Black Wolf takes control of the Ultima Weapon and sets upon you once more. Do what you have come to do, and see that the magitek monstrosity never threatens Eorzea again.
— In-game description
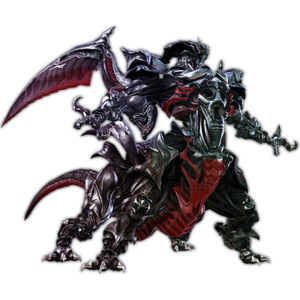
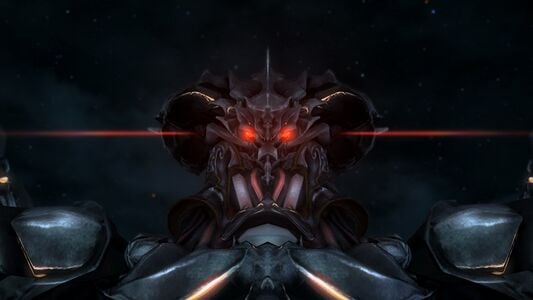
The Porta Decumana is a level 50 trial introduced in patch 6.1 with Endwalker. It replaced the confrontation with The Ultima Weapon during the old 8-player version of The Praetorium.
Duty Support
| Storm Marauder | Serpent Conjurer | Flame Thaumaturge | Serpent Lancer | |
|---|---|---|---|---|

|

|

|

| |
| Class | ||||
| Role | Tank | Healer | DPS | DPS |
Guide
 Anti-Eikon Warmachina: The Ultima Weapon
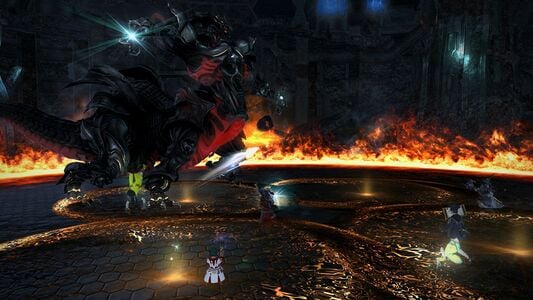
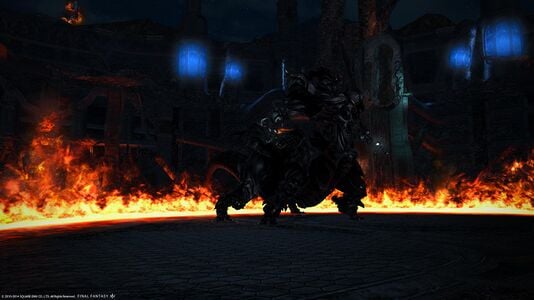
Patch 6.1 removed the Ultima weapon from ![]() The Praetorium and turned the encounter into its own the trial. The battle's layout is essentially like the old battle, but with many new mechanics in each phase to make up for it.
The Praetorium and turned the encounter into its own the trial. The battle's layout is essentially like the old battle, but with many new mechanics in each phase to make up for it.
Phase 1
Part 1: Titan
This phase will last from 100% to 80%. The tank should keep the Ultima Weapon on the walls while avoiding attacks from the first Primal used, Titan. These include:
- Earthen Fury: After a few autoattacks, the Ultima Weapon will summon Titan, who casts his heavy-damage ultimate attack. Healers should be ready to repair the damages at once.
- Geocrush: Places a proximity indicator in the area, which is where Titan will be dropping down. Get as far away from it as you can, to reduce the damage that you take
- Landslide: Titan will immediately cast a fiery line AoE after crashing down, so get out of the way. The Ultima Weapon will then cast Landslide on its own.
- Weight of the Land: Titan will cover much of the area alternating circle AoEs, so avoid them.
※ When the Ultima Weapon reaches 80%, he will cast Granite Interment, which traps all players in rocks. The Ultima Weapon will then attempt to wipe the party with Earthen Eternity, but Hydaelyn will interrupt by freeing the players and ripping Titan from the Ultima Weapon, beginning the next phase.
Part 2: Garuda
This phase will last from 80% to 55%. Again, the tank should keep the Ultima Weapon on the walls while watching out for attacks from the second primal used, Garuda. These include:
- Aerial Blast: Garuda will almost immediately appear to do her heavy-damage ultimate attack. Like Earthen Fury, healers should quickly repair the damage.
- Eye of the Storm: This is a donut AoE around the edge of the area. Go in the middle to avoid damage
- Mistral Shriek: A few seconds after Eye of the Storm, Garuda will go to an edge and cast a large Point-Blank circle AoE. Avoid this by watching where Garuda goes, and move as far away from her as you can.
※ When the Ultima Weapon reaches 55%, he will cast Vortex Barrier to create an impenetrable shield around itself. It will then begin to cast Headsman's Wind to wipe the party, but Hydaelyn will interrupt again and rip Garuda from the Ultima Weapon, beginning the next phase.
Part 3: Ifrit
This phase will last from 55% to 20%. The Ultima Weapon will rely on its last primal, Ifrit, to defeat the party while the tank should keep the Ultima Weapon occupied.
- Hellfire: Like Titan and Garuda, Ifrit will immediately cast his ultimate attack, putting healers on overdrive to heal through it.
- Radiant Plume: Ifrit creates circle AoEs throughout the arena, so avoid them.
- Vulcan Burst: Ifrit will cast this to knock all players back from the center.
- Radiant Plume: Once players are knocked back to the edges, Ifrit will immediately use this to put circle AoEs on the edges. Run back to the center to avoid damage.
※ When the Ultima Weapon reaches 35%, he will try to cast Radiant Blaze, which covers the entire area in AoEs, to wipe the party. Unlike before, players are not restrained and the Ultima Weapon is vulnerable, so they should keep damaging the Ultima Weapon as Hydaelyn tears Ifrit away. Without primals, the Ultima Weapon can only do autoattacks until reaching 20%, at which point an unskippable cutscene begins.
Phase 2
After the cutscene, a checkpoint will be made before the party engages the Ultima Weapon, now at full health and sporting a new set of mechanics, once more. Should the party be wiped for any reason, they will start at the beginning of this phase.
- Homing Lasers: This is a high-damage attack on the player highest in the enmity list, meaning the tank.
- Magitek Ray: The Ultima Weapon casts three line AoEs in sequence, one straight ahead, and the other two at angles.
- Homing Ray: Marks all players with circle AoEs. Don't overlap other players with your circle so that damage can be minimized.
- Tank Purge: The Ultima Weapon casts an unavoidable heavy damage-attack, so healers should be ready to act accordingly.
- Aetheric Boom: A knockback attack, though it can be avoided if the player has any knockback-prevention moves
- Aetheroplasm: Two pairs of orbs, tethered to each other, will appear. Players can absorb these orbs to prevent them from colliding with each other, minimizing damage.
- Citadel Buster: This is a line AoE indicated by a glowing green light. To avoid this attack, don't be in front of the Ultima Weapon when it is casting Citadel Buster. There is no orange ground telegraph.
- Magitek Bits: Unlike in the Praetorium, these are untargettable and will go away after a time. They will turn to face a certain direction, then attack with line AoEs in the direction that they are facing. Watch the Magitek Bits to see which direction they are facing, and move to avoid being in front of them.
- Explosion: Proximity indicators will appear to hint at gunships crashing down. Go to the center of the area to minimize the damage that you take from them.
※ When the Ultima Weapon reaches 30%, it will teleport to the center of the arena and slowly begin casting Ultima, which will KO the entire party if allowed to finish. Eventually, your Limit Break gauge will be completely filled by Hydaelyn, so a DPS player should use Limit Break as soon as this occurs to ensure the Ultima Weapon is defeated before the cast finishes, ending the trial. This type of attack is called a "hard enrage" by players and is uncommon in normal-mode content.
Players should also use Limit Break at the start of the cast, before Hydaelyn fills the gauge, as any gauge units accumulated from the start of the battle are otherwise wasted.
Music
| Section | Theme |
|---|---|
| Phase 1 | The Maker's Ruin |
| Phase 2 | Ultima |


