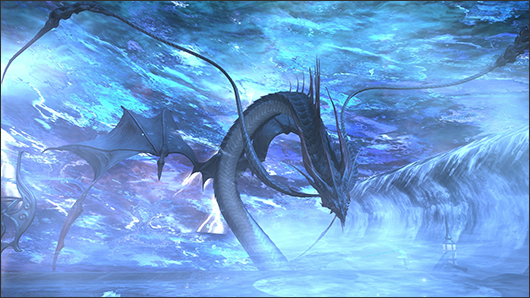
The Whorleater (Hard)
The Whorleater (Hard)
- Level
- 50 (Sync: 50)
- Item Level
- 60
- Difficulty
- Hard
- Party size
- Full Party
8 man • 2 2
2  4
4 
- Unsyncing
- Allowed
- Time limit
- 60 minutes
- Phoenix Down
- Not Available
- Duty Finder
- Trials (A Realm Reborn)
- Roulette
- Trials
- Tomestones
 15
15 - Req. quest
- Lord of the Whorl
- Entrance
- Lower La Noscea (X:24.6, Y:33.0)
- Location
- The Whorleater
- Region
- La Noscea
- Patch
- 2.2
 The Echo
- On wipe: +10% (max +50%)
The Sahagin, reviled beast tribe native to the Indigo Deep, have succeeded in summoning forth their voracious god, the primal Leviathan. Should the mighty serpent be allowed to unleash a tidal wave, the entire city of Limsa Lominsa will be swept into the sea. Faced with watery oblivion, the leaders of the Maelstrom have conceived a desperate plan: by lashing together two warships and filling their holds with corrupted crystals, they hope to pierce the Lord of the Whorl's defenses and give a chosen few the chance to dispatch the primal with courage and steel. The Whorleater sits in the bay with her towing vessel, the Triumph, awaiting but the command to cast off
— In-game description
The Whorleater (Hard) is a level 50 trial introduced in patch 2.2. The trial name is italicized because it is the name of the ship upon which the fight takes place.
Strategy
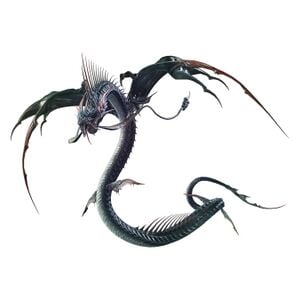
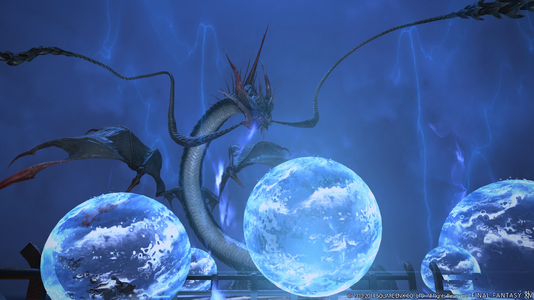
 Lord of the Whorl: Leviathan
Phase 1
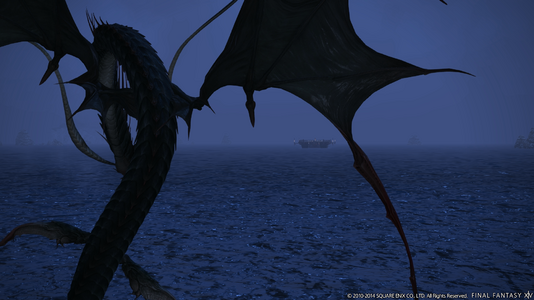
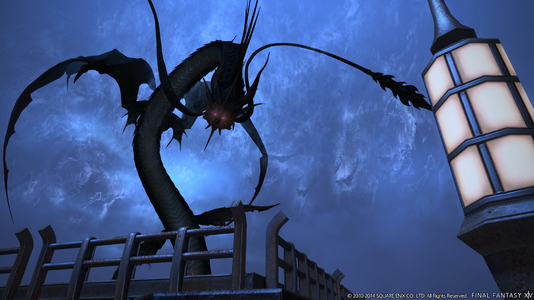
The boss will begin at the head of the ship. Here, players can simply attack the boss until either enough time passes or players push the boss to 90%. Once the boss reaches either of these thresholds, it will become untargetable and dive under the water. Players will need to be on the lookout for a large spume of water on either side of the ship. This indicates what side the boss's head will come up on, and at what end. For this first phase, the boss will always appear on the west side of the north of the arena. The boss will appear and use Body Slam, rearing up, then slamming down into the deck of the ship, stunning all players and causing them to slide to that end of the ship. Players caught under the boss will take some damage. From here the boss will become targetable, and its tail will appear opposite it at the other end of the ship.
Leviathan's Head and Leviathan's Tail are both targetable and mirror each others HP, so dealing 100 damage to the head will also deal 100 damage to the tail. The head is covered by a barrier called Veil of the Whorl that reflects Physical Ranged damage, while The tail is covered by a barrier also called Veil of the Whorl that reflects Magic damage, so casters will want to focus on the head, and ranged players will be on the tail. Melee players should target the tail so they can perform their positionals, but melee attacks on the head will not be reflected. The tail will only cast Scale Darts on its main enmity target. The head however, will have a host of new attacks that it can cycle through:
- Dread Tide: A Water elemental tankbuster fired at the main enmity target.
- Aqua Breath: A point-blank AoE attack that deals medium damage. This is cast periodically.
- Water Spout: Cast on random players, deals medium damage.
- Tidal Roar: Unavoidable party-wide damage.
During this phase, the boss will summon Wavespine Sahagins in sets of two. They will merely deal physical attacks to begin, but if not dealt with quickly, will start spam casting Hydroshot, which drops a large AoE puddle under a marked player. This puddle will debuff anyone who touches it with Dropsy, making them more vulnerable to Water elemental attacks. Players should focus on burning these ads down as they will continue to spawn in pairs throughout the fight. Eventually the boss will also summon Gyre Spumes in sets of four. These enemies don't attack, but will drain 8 points from the Elemental Converter each every 4 seconds. These are a priority, as without the Elemental Converter, the boss will wipe the party with Tidal Wave. The boss will sometimes become untargetable again and dive under the water, signaling what side of the ship it's moving to with another water spout. Simply be ready to move to the opposite end of the ship to avoid taking damage. At about 60%, the boss will become untargetable and leap over the ship and use Grand Fall. This drops an AoE on a player that will sit where they were standing. Any player caught in this will be debuffed with Heavy, greatly reducing players mobility. The boss will then begin jumping from end to end of the ship. This time, when players see the spout of water, they will need to move to the opposite side of the ship, as the boss will use Spinning Dive, dealing heavy damage and knockback. When the boss begins using Spinning Dive, they will need to run to the end of the ship with the Elemental Converter, as the boss is preparing to use Tidal Wave, which will wipe the party if the converter is not activated in time. After this, the boss will Body Slam on an end of the ship, and the fight will continue.
Phase 2
The fight will continue as before, however the boss will now jump over the ship and drop Grand Fall occasionally, and begin moving from one end to the other and appear on random sides. The boss will also begin summoning Wavetooth Sahagins. Like the previous ads, they will perform basic attacks, casting Ruin. If not dealt with quickly, it will begin casting Dreadstorm, dropping a large AoE under a player which debuffs with Hysteria, causing the player to lose complete control and run around in random directions. If the player passes through the circle again, they will be rebuffed with Hysteria. If two Wavetooth's are casting this, things can get chaotic very quickly, so take them down immediately. Wavespine Sahagins will also spawn throughout the phase. These mechanics will repeat until the boss is defeated.
Loot
 15 Allagan Tomestone of Poetics
- Leviathan Card (Drops at a fixed rate)
- Leviathan's Barb Drops directly from boss, must be synced
Music
| Section | Theme |
|---|---|
| Phase 1 | Wreck to the Seaman |
| Phase 2 | Through the Maelstrom |
Images

