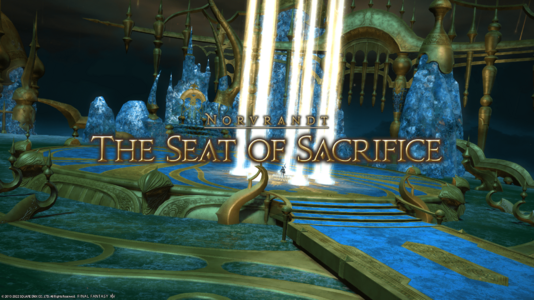
The Seat of Sacrifice
The Seat of Sacrifice
- Level
- 80 (Sync: 80)
- Item Level
- 465
- Difficulty
- Normal
- Party size
- Full Party
8 man • 2 2
2  4
4 
- Unsyncing
- Allowed
- Time limit
- 60 minutes
- Phoenix Down
- Not Available
- Duty Finder
- Trials (Shadowbringers)
- Roulette
- Trials
- Tomestones
 12
12 - Req. quest
- Hope's Confluence
- Location
- The Seat of Sacrifice
- Region
- Norvrandt
- Patch
- 5.3
 The Echo
- On wipe: +10% (max +50%)
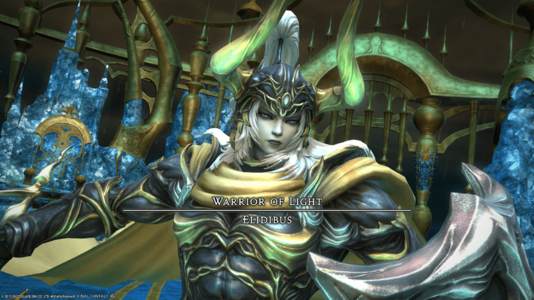
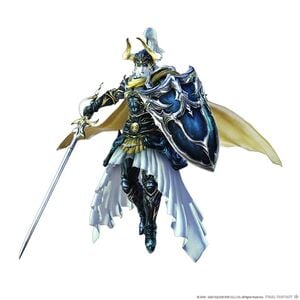
“If you would usher in the end, then with my all shall I oppose you”─so spoke Elidibus as he took unto himself the power of champions from beyond the rift to arise as the self-proclaimed Warrior of Light incarnate. Yet as resolutely as your foe believes in his cause, so too do you believe in yours, and thus Light and Darkness must collide. Invoking the ancient magick imbued with the memories of Azem, the forgotten final member of the Convocation of Fourteen, you summon the stars to your side and prepare to face your foe in a battle to steer the very course of the world.
— In-game description
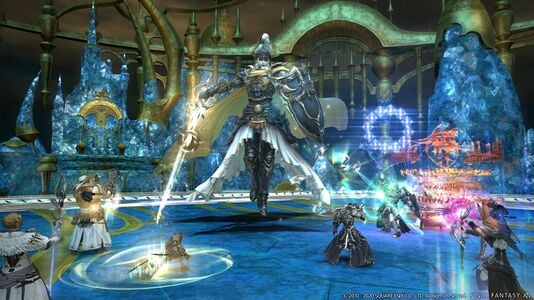
The Seat of Sacrifice is a level 80 trial introduced in patch 5.3 with Shadowbringers.
Guide
Note: If a DPS player uses a Limit Break on the Warrior of Light at any point during the fight, he will use Hallowed Ground (indicated by the voiced line "Clad in prayer, I am invincible!") to make himself Invulnerable for 8 seconds, nullifying all damage and rendering the Limit Break worthless. This can be avoided by using the Limit Break while the boss is busy casting another ability.
Phase 1
- Terror Unleashed: Reduces the entire party's HP to 1 and inflicts True Walking Dead, which will kill affected players when the debuff's timer runs out. The debuff must be removed by healing the player to full HP.
- Solemn Confiteor: Four circle AoEs dropped below random players.
- Coruscant Saber: One of two attacks with differing effects:
- If the Warrior of Light has rings surrounding his sword, the attack is a ring AoE that leaves only the center of the his hitbox safe.
- If the Warrior of Light does not have rings around his sword, the attack is a circle AoE centered on him.
- Absolute Fire III: Marks each player with a "pause" marker above their head. After the marker goes away, each player will take minor damage and be inflicted with Pyretic for 3 seconds, so they should stop attacking or moving until the debuff expires.
- Absolute Blizzard III: Marks each player with a "play" marker above their head. After the marker goes away, each player will take minor damage and be inflicted with Deep Freeze unless they are moving when the attack goes off.
- Imbued Absolute Blizzard/Fire III: Imbues the Warrior of Light's next attack with an untelegraphed version of the listed spell.
- Imbued Coruscant: An imbued version of Coruscant Saber. Functions identically to how it previously did, but with the added effect of casting Absolute Blizzard III or Absolute Fire III at the same time.
- Sword of Light: The room will darken and a sword of light will appear to cut a triangle into the floor. When the sword finishes, the interior of the triangle will deal extreme damage to anyone standing in it.
- Summon Wyrm: Summons a shadowy Bahamut on the north edge of the arena that will attack half of the arena with Dive Bomb.
- The Bitter End: Tankbuster.
- Elddragon Dive: High damage to the entire party.
- Ascendance: Deals light damage and traps the entire party in Fetters.
- Absolute Teleport: Forcibly teleports the entire party into the Aetherial Rift.
Intermission
- While inside the rift between worlds, players must perform an Active Time Maneuver to escape their fetters. To succeed, the players have 15 seconds to repeatedly click the button (or press any other button except from chat) and keep their Will of Defiance meter from dropping to 0. Note that the meter becomes easier to replenish when it is lower. So long as there's anything in the meter when the timer reaches zero, you succeed. If any player fails the event, the entire party wipes. If any players are dead when this phase starts, they will still participate and must successfully complete the Active Time Maneuver.
- The spirit of a Familiar Ascian appears before the Warrior of Light and returns the party to the arena as well as bestowing them three bars of Limit Break. In response, the Warrior of Light will call upon the Specters of Light.
- Ultimate Crossover: The Warrior of Light will gain a Level 4 Limit Break and unleash it upon the party. A Level 3 Tank Limit Break is required to survive this attack. This should be used when the system text on the screen says "Transcend your limits and weather the gathering storm!"
- If at least one person survives this attack and the boss is hit, the party will be given a checkpoint, so wiping will return the party to the start of Phase 2.
Phase 2
- Note that the boss's health has fully restored.
- Specter of Light: The Warrior of Light summons untargetable Specters of Light to perform attacks.
- Spectral White Mage and Spectral Black Mage will both use Twincast and four meteor circles will gradually appear in the arena. Two players are needed to stand in these circles to properly soak the damage, otherwise they inflict damage and Vulnerability Up to the entire party.
- Spectral Dark Knight will use Brimstone Earth to create two expanding circle AoEs in opposite corners of the arena. A Spectral Bard will use Deluge of Death, placing a targeted proximity marker on one random player. The Warrior of Light will use Summon Wyrm as the Dark Knight uses his ability, and then Absolute Holy during the Bard's.
- Absolute Holy: Stack marker on a random player.
- Spectral Ninja will use Suiton: San to cause a tidal wave to appear on one edge of the arena to push players toward the opposite edge. As the tidal wave casts, the Ninja will use Katon: San, a stack marker on a random player.
- Spectral Summoner will summon four Spectral Egi Demi-Bahamuts that tether to random players as the Summoner casts Flare Breath. When the cast ends, the four Spectral Egi will launch a wide cone in the direction of their tether.
- Spectral Warrior will appear in the center of the arena and use Perfect Decimation, sending out two sets of four cone attacks from his position that, together, cover the entire arena. Remember which cones showed up first and wait for their attacks to go off.
- To the Limit: Gives the Warrior of Light Limit Break charges.
- Radiant Braver: Level 1 Limit Break. Cone attacks directed at three random players, marked with a red arrow over their heads.
- Radiant Desperado: Level 2 Limit Break. Line stack markers on both healers that resolve one after the other. Inflicts Physical Vulnerability Up to prevent stacking for more than one attack.
- Radiant Meteor: Level 3 Limit Break. Extremely large circle AoEs targeted on four random players.
- Sword of Light: Now summons two swords with the same effects.
Loot
 12 Allagan Tomestone of Poetics
- Shadowbringers Warrior of Light Card (Drops at a fixed rate.)
Dialogue
If anyone fails the Active Time Maneuver
An Amaurotine specter appears.
The specter re-summons the party. They then walk away, waving their right arm, revealing themselves to be Emet-Selch.
If a DPS limit break is used when the boss is not casting an action
Music
| Section | Theme |
|---|---|
| Main | To the Edge |
Images
Abilities
-
Coruscant Saber
Rings surrounding his sword -
Coruscant Saber
No rings


