Hell on Rails (Extreme)
Hell on Rails (Extreme)
- Level
- 100 (Sync: 100)
- Item Level
- 760
- Difficulty
- Extreme
- Party size
- Full Party
8 man • 2 2
2  4
4 
- Unsyncing
- Not Allowed
- Time limit
- 60 minutes
- Phoenix Down
- Not Available
- Duty Finder
- Raid Finder (Trials)
- Tomestones
 25
25  15
15 - Req. quest
- Talk to the Wandering Minstrel in Tuliyollal after completing
 Where We Call Home
 - Location
- Hell on Rails
- Region
- The Mist Continent
- Stone, Sky, Sea
- Available
- Patch
- 7.4
The storm surged and kingdoms fell, their lands devoured by unrelenting levin. For centuries thereafter, the Doomtrain sped on─but not unchanged, for time tests even the strongest steel. How fearsome it must have been in those halcyon days! The pride of its creators, the hope of its nation! Its headlamp nearly blinds you as the metal thunder draws nearer, and the minstrel's verse lays the track anew...
— In-game description
Hell on Rails (Extreme) is a level 100 trial introduced in patch 7.4 with Dawntrail.
Mechanics & Timeline
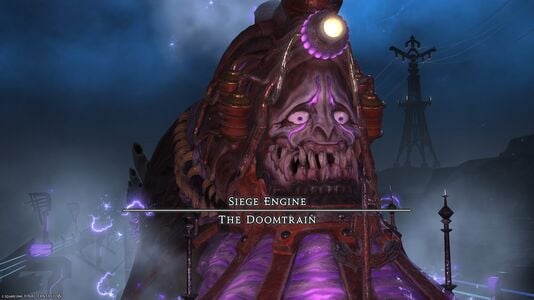
 Siege Engine: Doomtrain
Mechanics
| Name | Description |
|---|---|
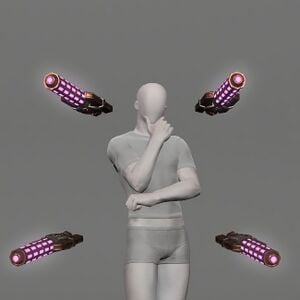
| Dead Man’s Overdraught | Spawns four or eight floating orbs, indicating either Plasma (four) or Hyperexplosive Plasma (eight) will hit after a delay.
|
| Dead Man’s Express | Spawns multiple Levin Signals, then attacks with a platform-wide knockback before each Levin Signal shoots a Plasma Beam in a line down the platform.
|
| Dead Man’s Windpipe | Attacks with a draw-in then hits the first two rows of the platform with Dead Man’s Blastpipe.
|
| Unlimited Express | Raidwide that destroys the platform and knocks all Players up in the air to land on the next platform. |
| Turret Crossing | Summons turrets that will shoot straight line AoEs from either the left or the right side of the platform multiple times |
| Lightning Burst | Double tank buster |
| Runaway Train | Raidwide Phase Shift |
| Aetherial Ray | Large cleave tank busters based on the position of the Ghost Train add
|
| Aetherosote | Targets all non-tank Players with a point-blank AoE and applies a 2s Magic Vulnerability Up
|
| Aetherochar | Targets healers with a point-blank AoE and applies a 2s Magic Vulnerability Up. This attack must be soaked by multiple Players.
|
| Shockwave | Raidwide
|
| Derailment Siege | Multi-hit Party stack
|
| Derail | Boss destroys the platform.
|
| Third Rail | Puddles are placed under every player's position. Puddles are delayed and go off ~2.7s later.
|
| Headlight | Hits upper level
|
| Thunderous Breath | Hits lower level
|
| Arcane Revelation | Massive AoE “Hail of Thunder” hits multiple times along a diamond pattern, while at the same time Hyperconductive Plasma hits one healer and one tank. |
| Psychokinesis | Point-blank AoE on multiple targets. |
Timeline
The fight is broken into six phases, or "cars".
* Attacks in italics do not show the cast, but indicate the attack through visual and/or sound cues.
| CAR 1 |
|---|
|
| CAR 2 |
|---|
|
| CAR 3 |
|---|
|
| CAR 4 |
|---|
|
| CAR 5 |
|---|
|
| CAR 6 |
|---|
|
Guides
- North America & European data centers typically follow Hector's strats for this fight.
- Static Intermission is typically used both in NA and Europe party finder as well.
- The Materia center typically follows Materia strats for this fight.
- The JP data centers follow Game8's strats for this fight.
- WTFDIG supports Hector and Game8 strats for this fight, and provides strategy boards for both.
Loot
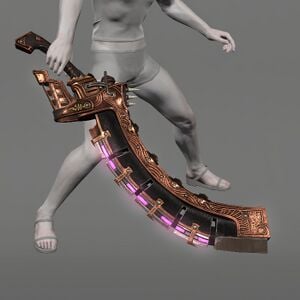
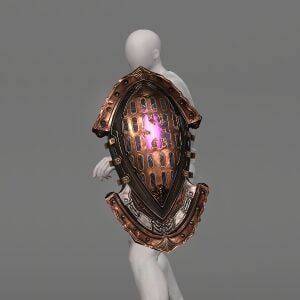
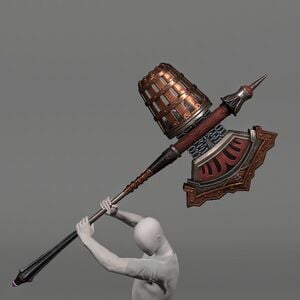
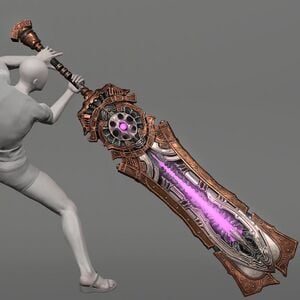
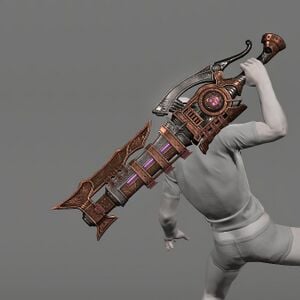
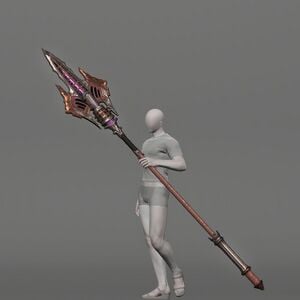
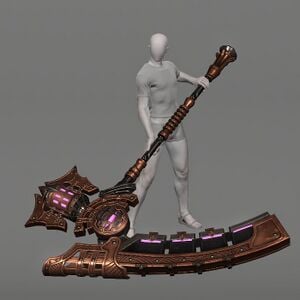
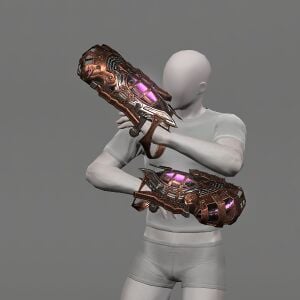
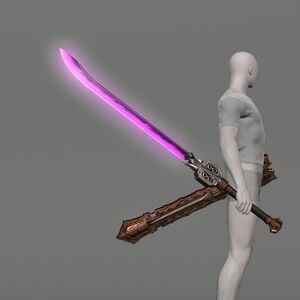
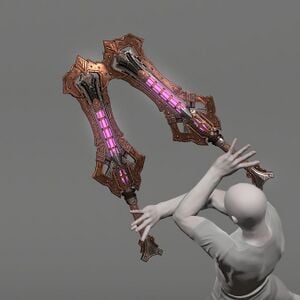
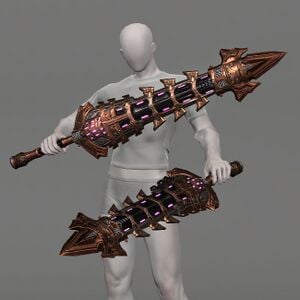
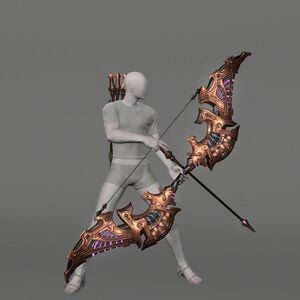
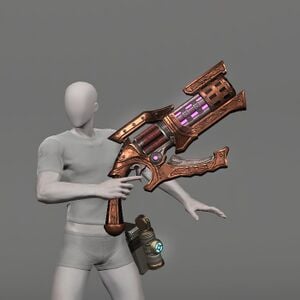
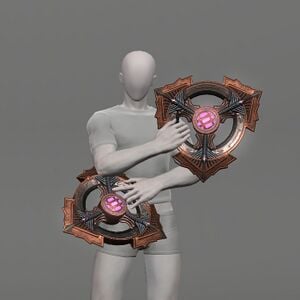
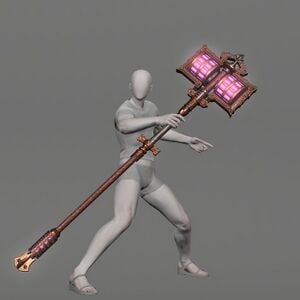
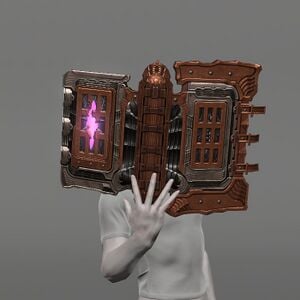
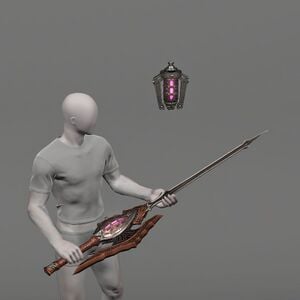
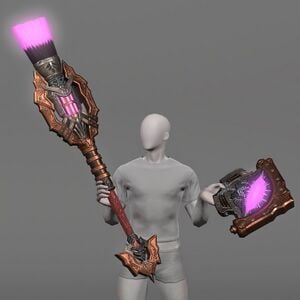
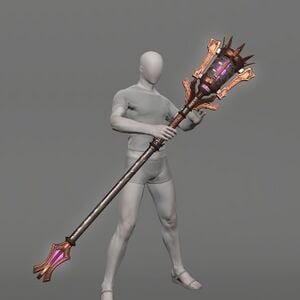
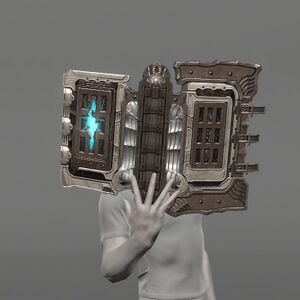
- Each player will receive 2 Runaway Totem per kill. Collect 10 totems to exchange for a weapon at Uah'shepya in Solution Nine (X:8.7 Y:13.5).
 Allagan Tomestones of Mathematics
 Allagan Tomestones of Mnemonics
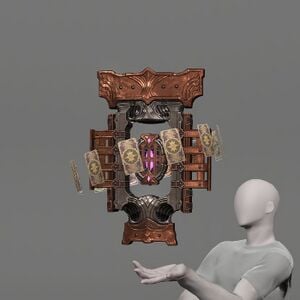
- Doomtrain Card (Drops at a fixed rate.)
 Treasure Coffer
Weapon Gallery
Achievements
This duty is associated with the following achievement:
| Name | Points | Task | Reward | Patch |
|---|---|---|---|---|
| I Choo-Choo-Choose Doom | 10 | Defeat the Doomtrain in Hell on Rails (Extreme). | - | 7.4 |
Dialogue
- Lumull: We're in it now... I'm counting on you! (upon pull)
- Lumull: Waugh, the flatcar! (Car 2 start)
- Lumull: Not again... You all right back there? (car 3 start)
- System: You are transported... (Runaway Train)
- System: You hear the scream of metal...and it's coming closer! (Runaway Train ultimate attack)
- Lumull: What in the─ You're still on board, right!? (Back to car 3)
- Lumull: Aetherial...arms...? (after Shockwave)
- Lumull: Thunderous heavens! (Car 4 start)
- System: Aether condenses between the Doomtrain's hands... (Arcane Revelation)
- Lumull: Stop doing that! (Car 5 start)
- Lumull: Look out! (Derail)
- Lumull: We're running out of train! (Car 6 start)
- Lumull: Pretty sure this is bad! (Derail enrage)
Music
| Section | Theme |
|---|---|
| Main | FINAL FANTASY IX: Battle 2 (Dawntrail) |
| Victory | Fanfare from FINAL FANTASY IX |

