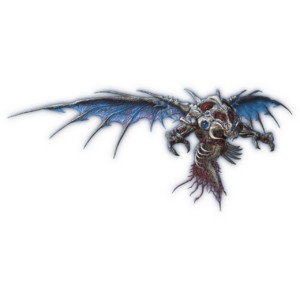
The Abyssal Fracture
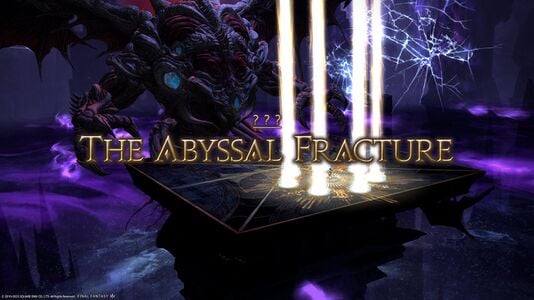
The Abyssal Fracture
- Level
- 90 (Sync: 90)
- Item Level
- 625
- Difficulty
- Normal
- Party size
- Full Party
8 man • 2 2
2  4
4 
- Unsyncing
- Allowed
- Time limit
- 60 minutes
- Phoenix Down
- Not Available
- Duty Finder
- Trials (Endwalker)
- Roulette
- Trials
- Tomestones
 12
12 - Req. quest
- Down in the Dark
- Location
- The Abyssal Fracture
- Region
- ???
- Patch
- 6.5
 The Echo
- On wipe: +10% (max +50%)
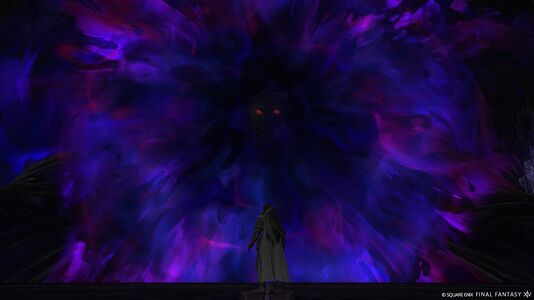
'Twas only when the Ascians' god was brought low, its remnants dispersed into aether, that Golbez could piece together his plan. In the red moon's answer to the Cradle of Darkness did he use that aether to birth the dread voidsent Zeromus, which, driven by Azdaja's longing to return home, is now poised to break the barrier between worlds. And so the Warrior of Light stands fast against the Darkness, a flickering beacon of hope. Should they fail, the Thirteenth's deliverance will prove the Source's destruction.
— In-game description
The Abyssal Fracture is a level 90 trial introduced in patch 6.5 with Endwalker.
Guide
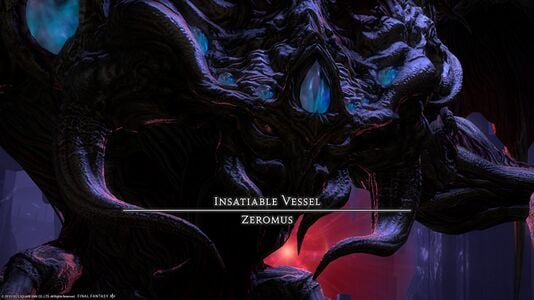
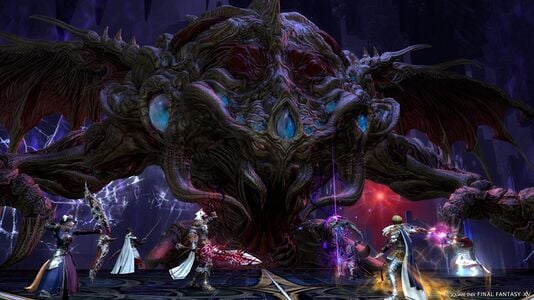
 Insatiable Vessel: Zeromus
Note that players can fall off the arena to their death but can be resurrected after a moderate delay.
Phase 1
- Abyssal Nox: Reduces everyone to 1 HP and inflicts Doom lasting 10s that can be removed by healing to full.
- Meanwhile, multiple rays of light will travel to random cardinals and intercardinals, indicating the locations of large circular AoEs. Dodge in a location without a light ray.
- Sable Thread: Multi-hit line stack AoE. 6 hits total, two targets closest to the boss take increased damage.
- Visceral Whirl: The boss will place its claws over the arena, telegraphing sets of perpendicular line AoEs, leaving two triangular safe spots.
- Dark Matter: Multi-hit AoE tankbuster.
- Flare: Spawns a tower with a stack marker. The entire party should take the tower.
- The tower will leave behind a large fireball that will emit several fiery lines, telegraphing line AoEs.
- Nox: Two random players receive chasing AoE markers and should bait these away from the rest of the party. The chasing AoE strikes 3 times, and only moves a relatively short distance from the start position compared to other chasing AoE mechanics.
- Void Bio: Spawns a row of poison orbs (Toxic Bubbles) at the north of the arena, which will gradually begin moving south at various speeds, leaving gaps to dodge through. Anyone hit by these will be inflicted with Pollen and take high damage over time.
- The boss casts another Visceral Whirl when the poison orbs are still moving, so the party needs to dodge these while going to the triangular safe spots.
- Big Bang: Spawns multiple baited circle AoEs on players and other circular AoE telegraphs at semi-random locations during the cast. The attack itself deals raidwide damage and transitions the arena. Inflicts several debuffs:
- Big Bounce (5 players): Deals damage over time
- Acceleration Bomb (all players): When the debuff timer expires, the player must remain still and not attack, or they will take damage and be knocked up in the air. There will be an overhead timer when the debuff is about to expire.
- Divisive Dark (all players): Telegraphed spread AoE.
- Beckoning Dark (1 player): Stack marker.
- HP Penalty (all players): Reduces everyone's maximum HP by around 25%.
- The boss uses Visceral Whirl again. Everyone's Acceleration Bomb will expire here, so they should stop moving.
- Afterwards, the stack marker debuff will resolve, followed by the spread AoEs.
- Meteor Impact: Spawns a meteor marker at the center, which tethers all players with a proximity tether a blue line AoE telegraph with a rounded top. Each player must stretch their tether until it is no longer spiky and avoid overlapping others. If the tether is too short, they will die. All players are hit with an AoE that inflicts Blunt Resistance Down.
- Black Hole: Spawns an expanding circular black hole AoE on one corner and a telegraphed line AoE from the boss's mouth that will rotate based on the arrows. The party should go behind the line AoE and avoid the circle AoE. Anyone hit by the black hole will be sucked in and instantly killed.
- Void Meteor: Spawns four proximity AoEs near the corners. These will each leave behind a cracked meteor.
- Meteor Impact is used again, tethering all players, and functions as before. However, players should avoid overlapping any dropped meteors with their line AoE (indicated by their indicator turning red), or it will explode for high raidwide damage.
- The four meteors will then explode in a telegraphed point-blank AoE.
- Big Crunch: Functions similarly to Big Bang, spawning multiple baited circle AoEs on players and other circular AoE telegraphs at semi-random locations during the cast. The attack itself deals raidwide damage and transitions the arena. Removes the HP Penalty debuff but gives everyone Big Bounce damage-over-time that lasts for several seconds.
- The mechanics for Phase 1 repeat until the boss reaches ~25% HP.
Phase 2
- Rend the Rift: Raidwide damage and transitions the arena and background music.
- Several baited circle AoEs and tri-directional line AoE telegraphs will spawn.
- Nostalgia: Deals 4 hits of physical raidwide damage (Bury), 2 hits of magical raidwide damage (Roar), followed by 1 magical raidwide (Primal Roar) that deals more damage. Heal and mitigate.
- Flow of the Abyss: Tethers a white crack in the background, indicating the location of a wide line AoE that will hit around a third of the arena.
- Akh Rhai (no cast bar) Each player is marked with an orange marker, indicating they will drop a circle AoE telegraph that leaves behind a persistent multi-hit AoE that should be avoided. This occurs at the same time as Flow of the Abyss.
- Chasmic Nails: Telegraphs 5 conal AoEs that sequentially hit the arena. Dodge into a previous AoE once it resolves. Anyone hit will be inflicted with Flesh Wound that can be removed by Esuna.
- The mechanics for this phase repeat until the boss is defeated.
Loot
 12 Allagan Tomestone of Poetics
- Zeromus Card (Drops at a fixed rate.)
Dialogue
Zeromus will say various voice acted lines in Dragonspeak during the battle.
Zeromus: Stand aside, I beseech you.
Zeromus: I wish but to return home.
Zeromus drinks deep of Azdaja's soul...
Zeromus: Your flesh shall melt and seethe!
Zeromus: Ah, the Darkness! It riseth!
Zeromus: In endless Dark embrace your end.
Zeromus: Begone, contemptible Light!
Zeromus: All are as one in Darkness.
Zeromus: O stifled Darkness in moon abiding...
Zeromus: Coalesce and consume creation!
Zeromus expands its domain...
Zeromus: In my memory the stars yet shine, attending the moon...
Zeromus: Bright as stars in the night.
Zeromus: My Darkness shall devour all Light.
Zeromus: Your souls are mine!
Zeromus: In Darkness be steeped.
Zeromus: Her will...my will...shall not be denied.
Zeromus: By my power shall all know salvation!
The barrier between worlds weakens...
Zeromus: Return to me, my beloved star!
Zeromus: Beyond the veil my home doth lie...
Zeromus: All who oppose me shall be consigned to nothingness.
Zeromus: To the last you would deny my heart's desire...
Zeromus: Oh, to look upon such splendor once more...
Music
| Section | Theme |
|---|---|
| Main | FINAL FANTASY IV: The Final Battle (Endwalker) |
Images
Trivia
- Zeromus is the final boss of Final Fantasy IV. The background music for this trial, The Final Battle and The Red Wings, are remixes of the music played during the FFIV battle and the FFIV version of the Lunar Subterrane dungeon.

