Shield Gallery: Difference between revisions
Jump to navigation
Jump to search
Thistledown (talk | contribs) |
Thistledown (talk | contribs) |
||
| Line 189: | Line 189: | ||
Dwarven-mythril-shield.jpg|[[Dwarven Mythril Shield]] {{Blacksmith}} / {{Gil}} | Dwarven-mythril-shield.jpg|[[Dwarven Mythril Shield]] {{Blacksmith}} / {{Gil}} | ||
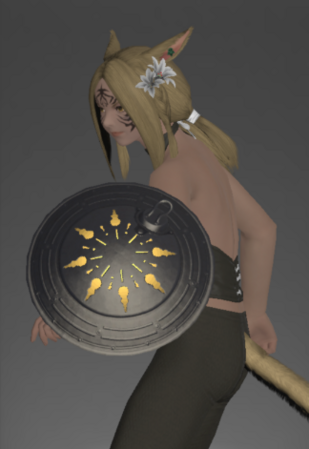
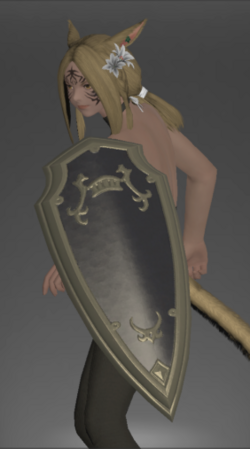
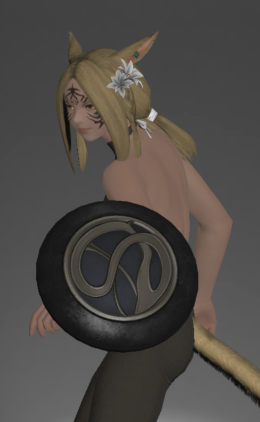
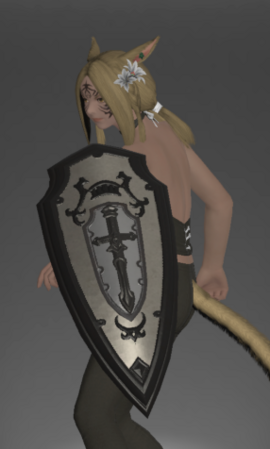
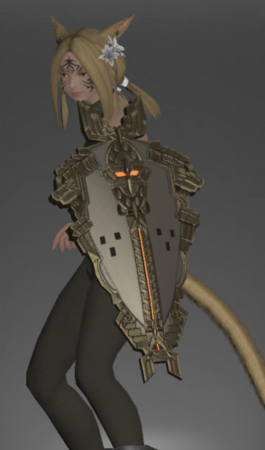
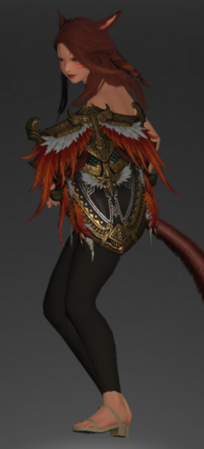
Spacer2 drawn.png|[[Shield of the Forgiven]] (Mt. Gulg) | Spacer2 drawn.png|[[Shield of the Forgiven]] (Mt. Gulg) | ||
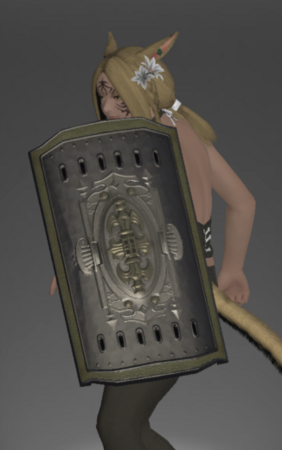
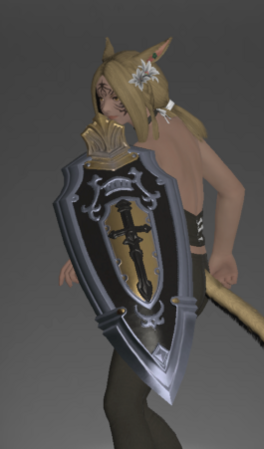
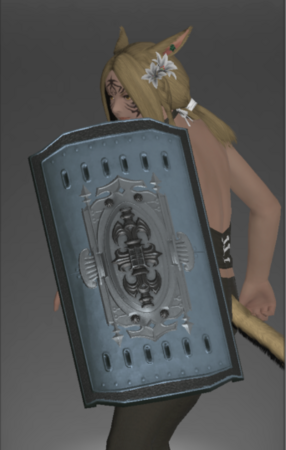
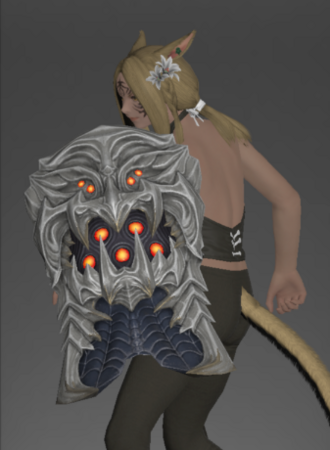
Adamant scutum 1.png|[[Adamant Scutum]] {{Blacksmith}}, {{Armorer}} | |||
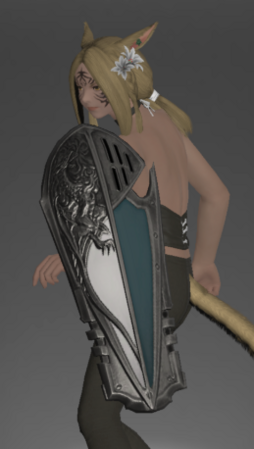
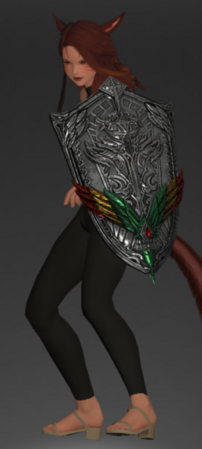
Augmented Eulabeia 2.png|[[Augmented Eulabeia]] {{Blacksmith}}, {{Armorer}} | |||
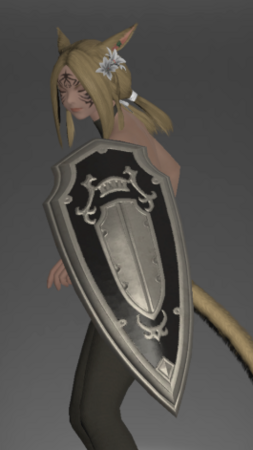
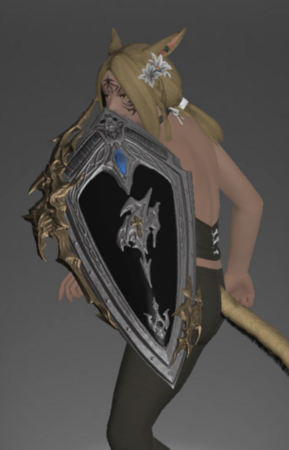
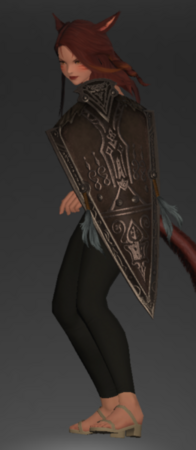
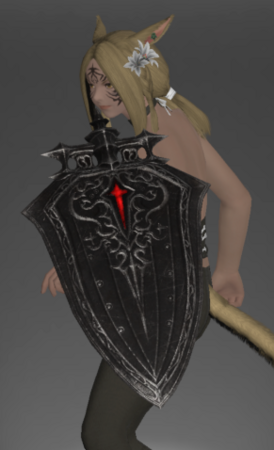
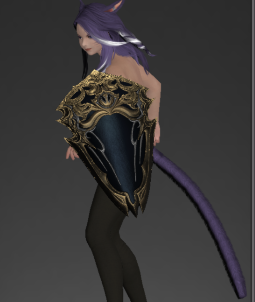
Srivatsa drawn.png|[[Srivatsa]] Role Quest | Srivatsa drawn.png|[[Srivatsa]] Role Quest | ||
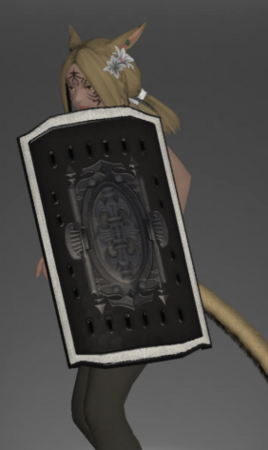
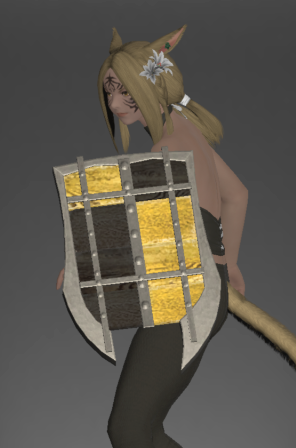
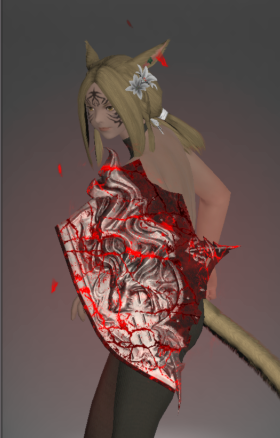
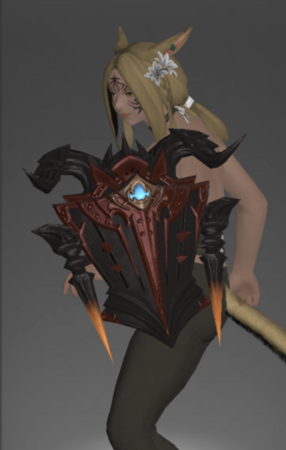
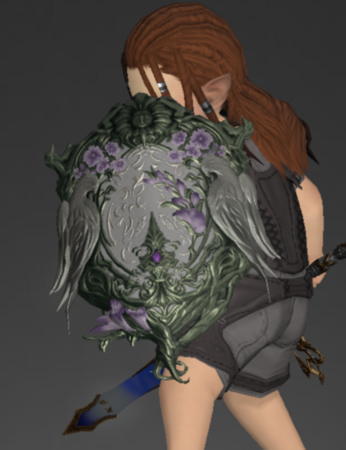
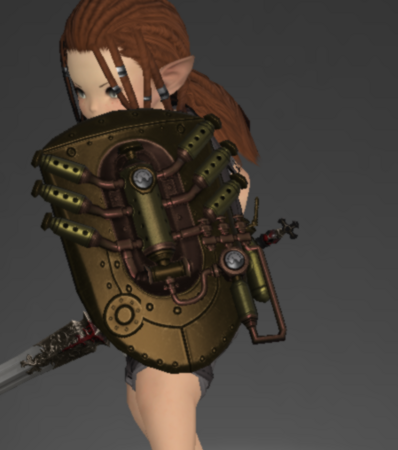
Rubellux | Rubellux Shield 1.png|[[Rubellux Scutum]] {{Blacksmith}}, {{Armorer}} | ||
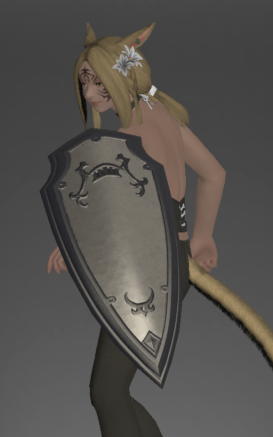
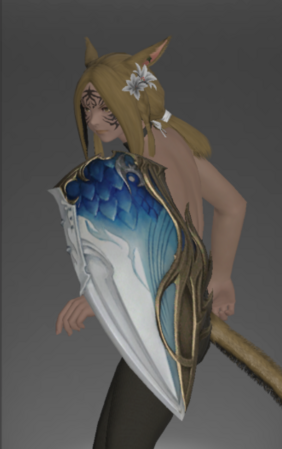
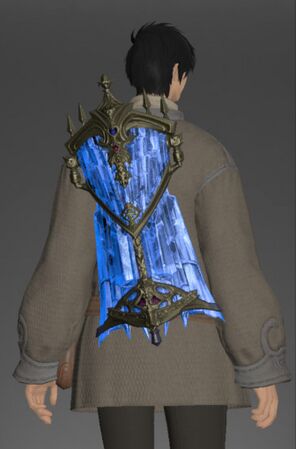
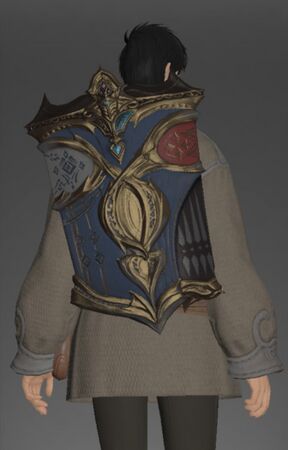
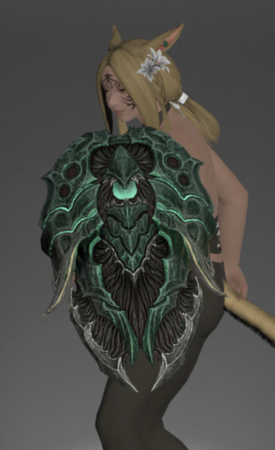
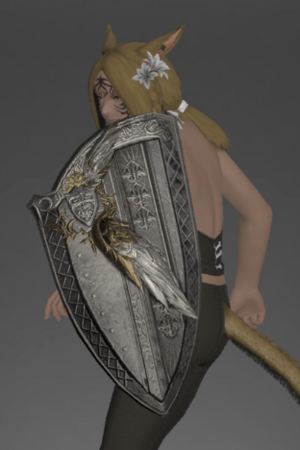
Smaragdine | Smaragdine Shield 2.png|[[Smaragdine Shield]] {{Blacksmith}}, {{Armorer}} | ||
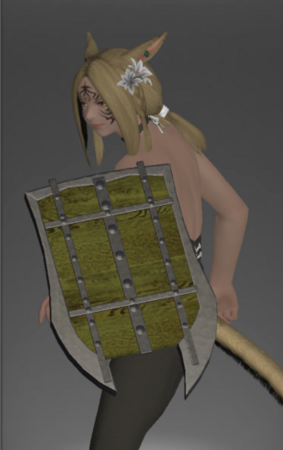
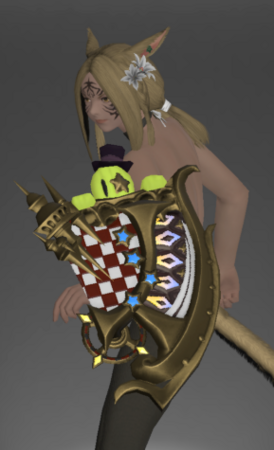
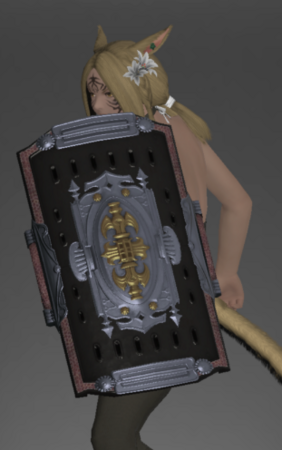
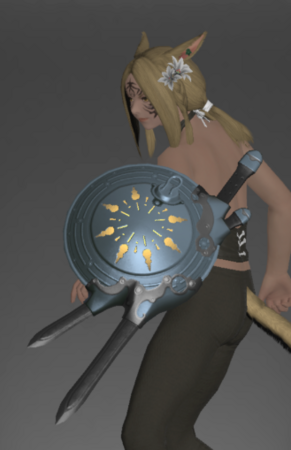
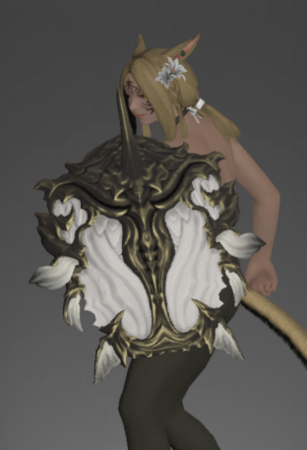
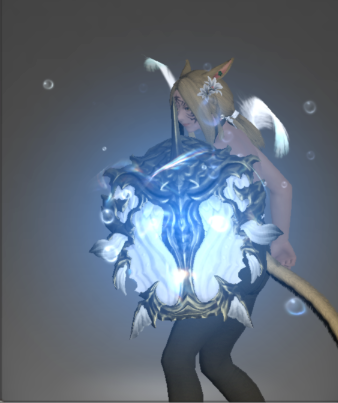
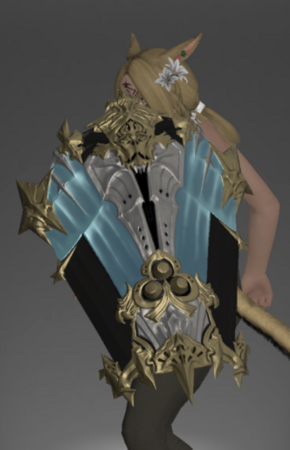
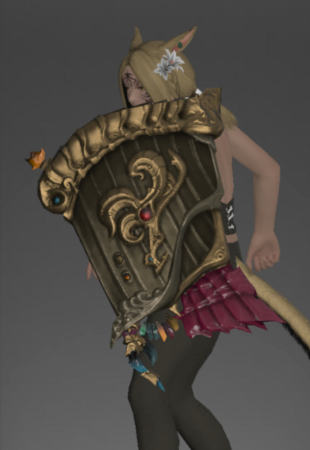
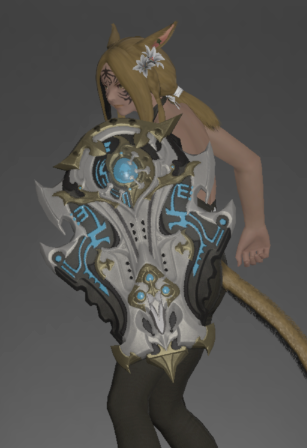
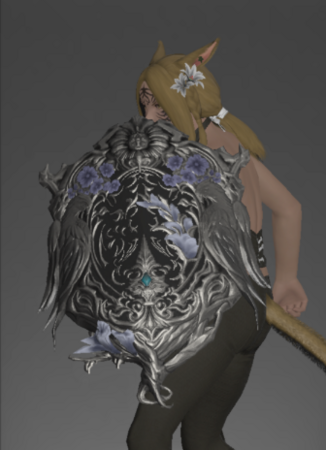
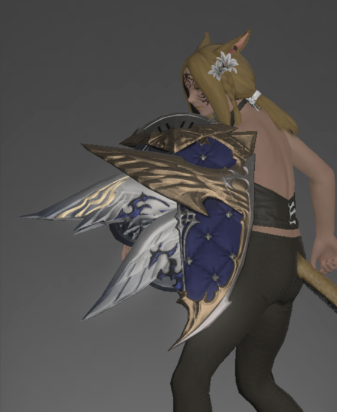
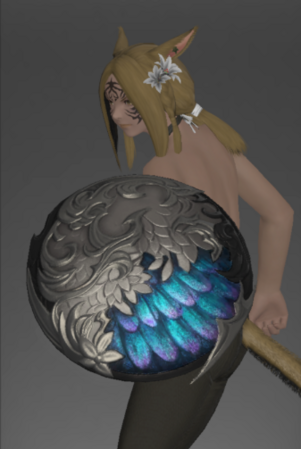
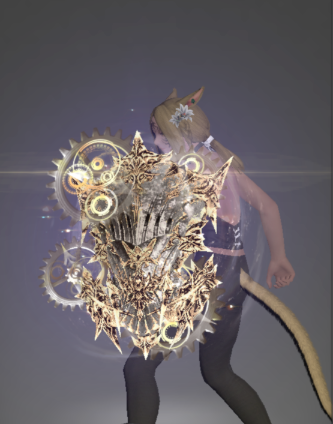
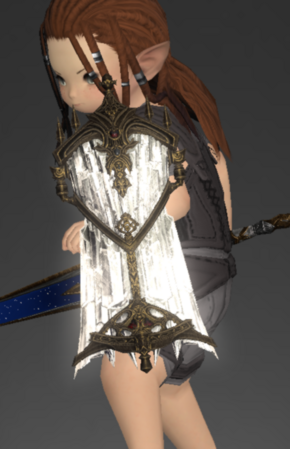
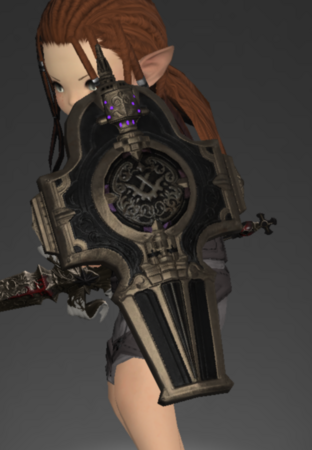
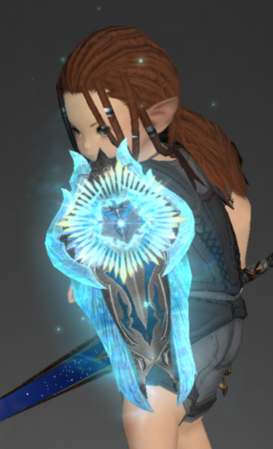
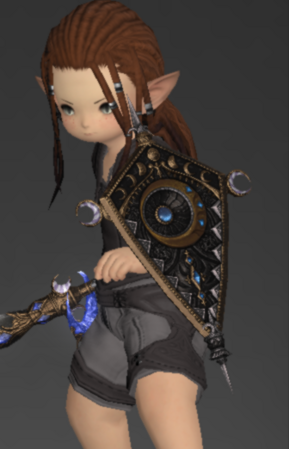
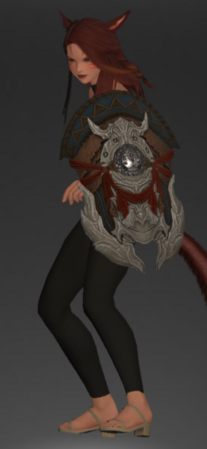
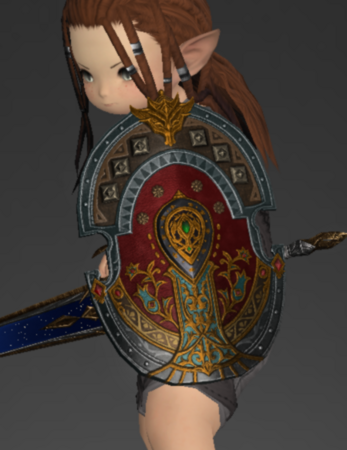
The Fae's Crown Shield 1.png|[[The Fae's Crown Shield]] {{Blacksmith}}, {{Armorer}} | |||
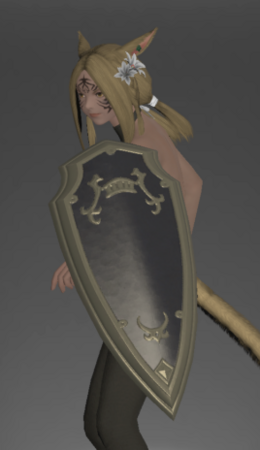
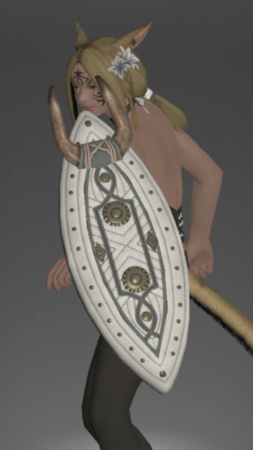
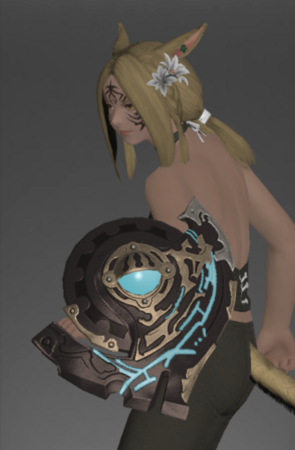
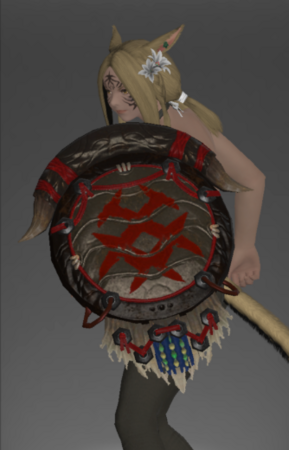
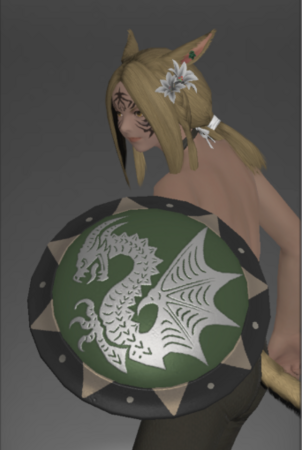
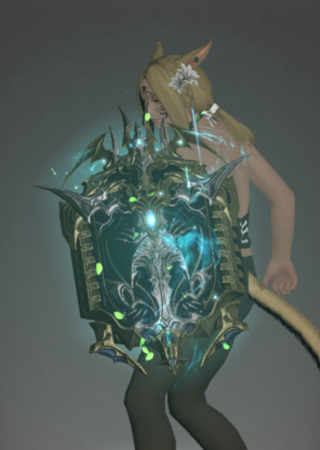
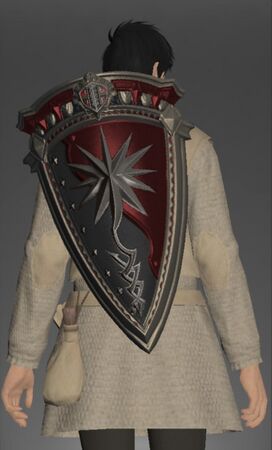
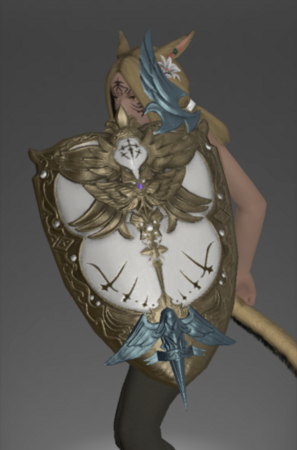
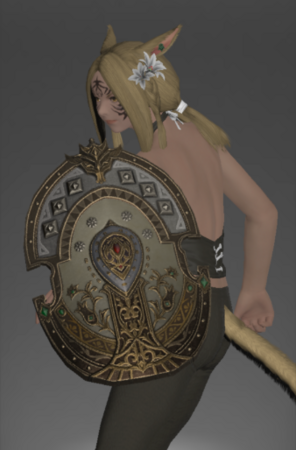
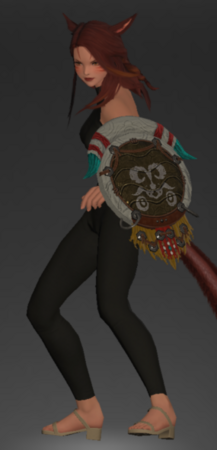
Ronkan Kite Shield drawn.png|[[Ronkan Kite Shield]] {{Sack of nuts}} Hunt | Ronkan Kite Shield drawn.png|[[Ronkan Kite Shield]] {{Sack of nuts}} Hunt | ||
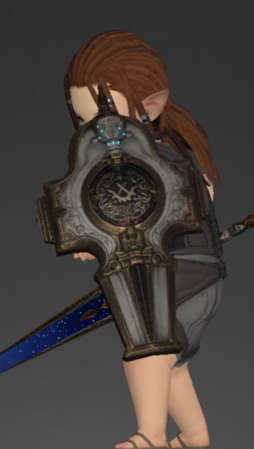
Dominus-shield.jpg|[[Dominus Shield]] {{Armorer}} | Dominus-shield.jpg|[[Dominus Shield]] {{Armorer}} | ||
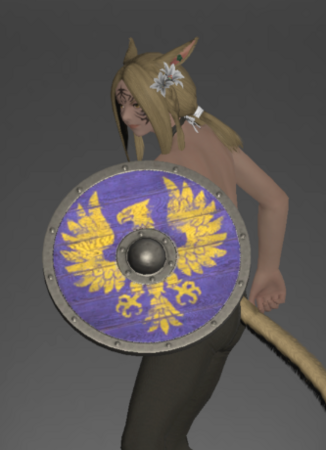
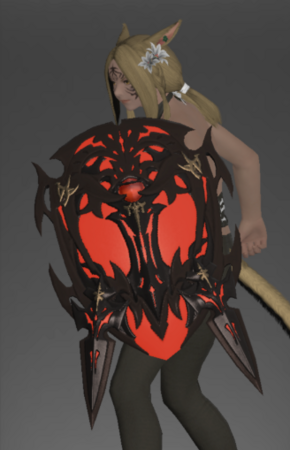
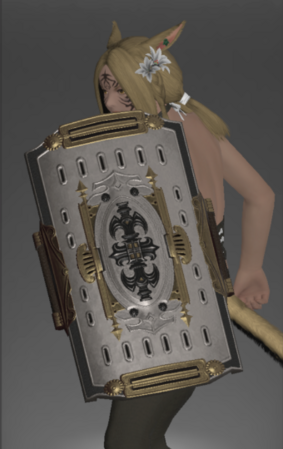
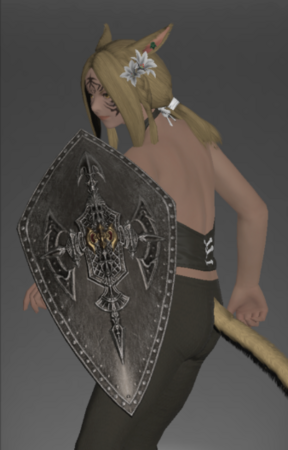
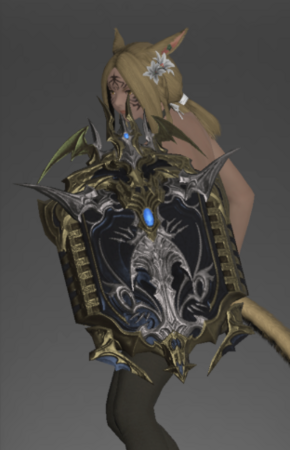
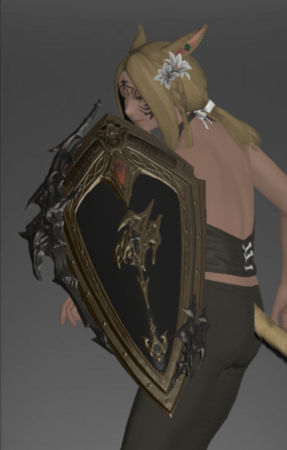
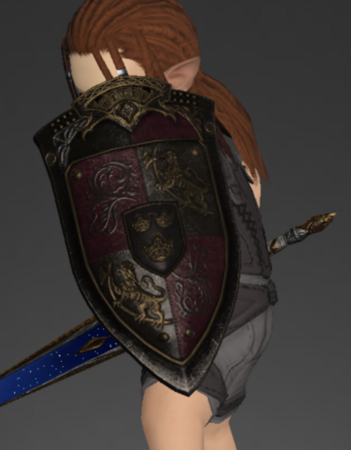
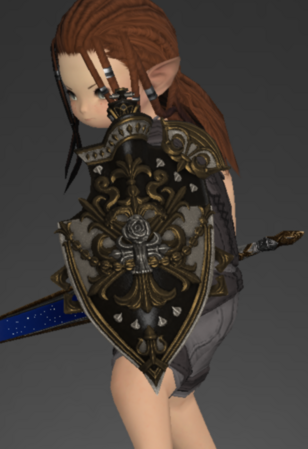
The King's Shield drawn.png|[[The King's Shield]] (Dancing Plague Extreme) | The King's Shield drawn.png|[[The King's Shield]] (Dancing Plague Extreme) | ||
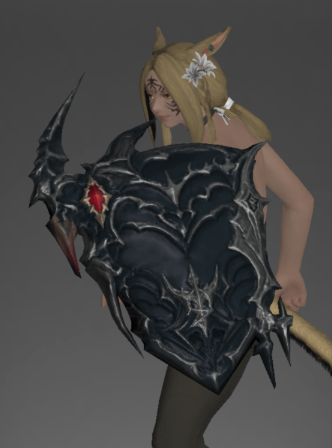
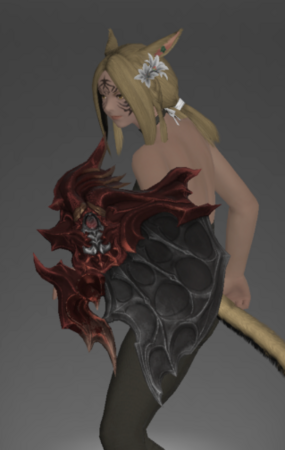
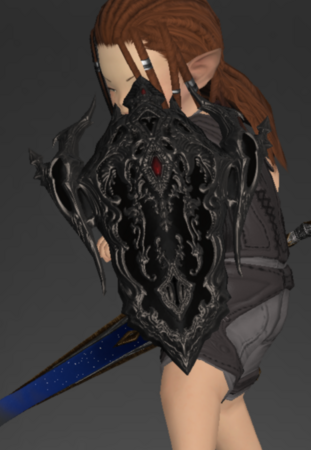
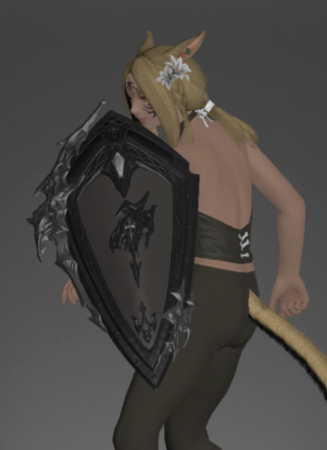
Augmented Deepshadow Shield drawn.png|[[Augmented Deepshadow Shield]] {{Sack of nuts}} Hunt | Augmented Deepshadow Shield drawn.png|[[Augmented Deepshadow Shield]] {{Sack of nuts}} Hunt | ||
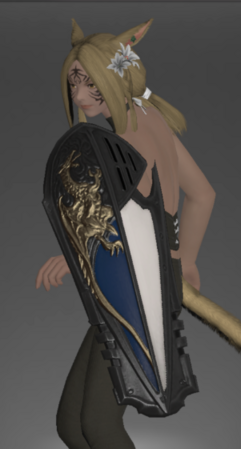
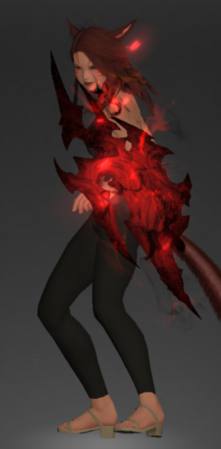
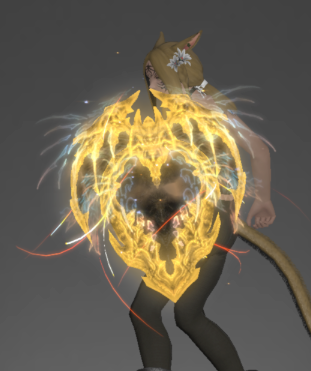
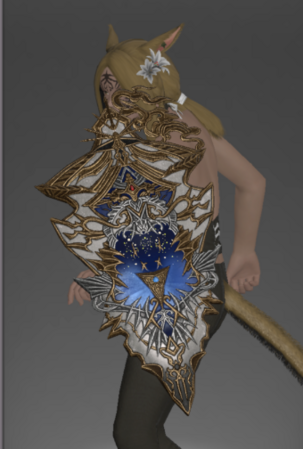
Augmented Eulabeia 2.png|[[Eulabeia]] (Minstrel: Hades's Elegy) | |||
Edengrace Shield drawn.png|[[Edengrace Shield]] (Sepulture Savage) | Edengrace Shield drawn.png|[[Edengrace Shield]] (Sepulture Savage) | ||
Ultimate Ancile drawn.png|[[Ultimate Ancile]] (Epic of Alexander Ultimate) | Ultimate Ancile drawn.png|[[Ultimate Ancile]] (Epic of Alexander Ultimate) | ||
| Line 207: | Line 207: | ||
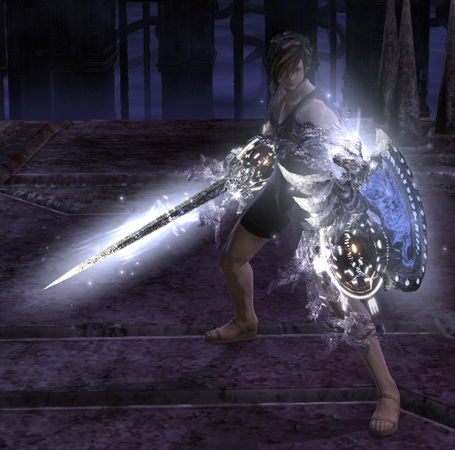
Shield of Light drawn.png|[[Shield of Light]] (Seat of Sacrifice Extreme) | Shield of Light drawn.png|[[Shield of Light]] (Seat of Sacrifice Extreme) | ||
Spacer2 drawn.png|[[Edenchoir Scutum]] (Refulgence Savage) | Spacer2 drawn.png|[[Edenchoir Scutum]] (Refulgence Savage) | ||
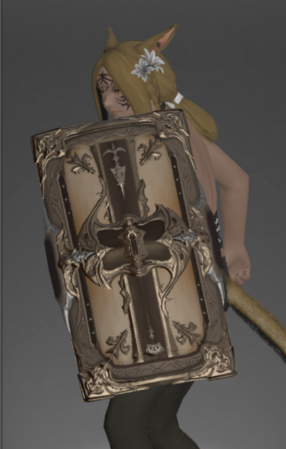
Exarchic Tower Shield 2.png|[[Exarchic Tower Shield]] {{Armorer}} | |||
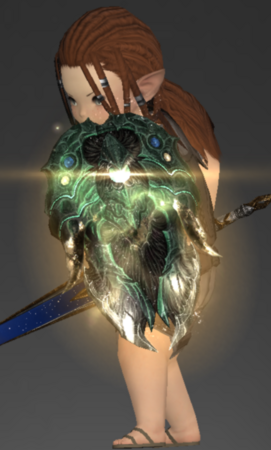
Emerald Shield drawn.png|[[Emerald Shield]] (Castrum Marinum Extreme) | Emerald Shield drawn.png|[[Emerald Shield]] (Castrum Marinum Extreme) | ||
High Durium Shield 2.png|[[High Durium Shield]] {{Armorer}} / {{Gil}} | |||
Spacer2 drawn.png|[[Augmented Cryptlurker's Kite Shield]] {{Tomestone|poetics}} [[Poetics]] | Spacer2 drawn.png|[[Augmented Cryptlurker's Kite Shield]] {{Tomestone|poetics}} [[Poetics]] | ||
Diamond Zeta Scutum drawn.png|[[Diamond Zeta Scutum]] (Cloud Deck Extreme) | Diamond Zeta Scutum drawn.png|[[Diamond Zeta Scutum]] (Cloud Deck Extreme) | ||
Revision as of 00:02, 18 June 2025
A gallery of Shields, used by ![]() Paladins.
Paladins.
Weapons marked with ![]() ,
, ![]() ,
, ![]() ,
, ![]() , or
, or ![]() are crafted by those classes.
Weapons marked with
are crafted by those classes.
Weapons marked with ![]() can be bought with coin.
Weapons marked with
can be bought with coin.
Weapons marked with ![]() can be bought with Company Seals for the appropriate Grand Company.
can be bought with Company Seals for the appropriate Grand Company.
Level 1-10
-

-
 Figmental Lid (Treasure Map)
 -
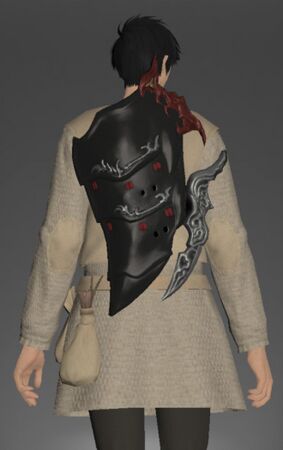
 Hellhound Shield
 PvP
PvP -
 Komainu Shield PvP
 -
 Divine Beast Shield (Invisible) Gold Saucer
 -
 Tropaios Shield PvP


Level 21-40
-
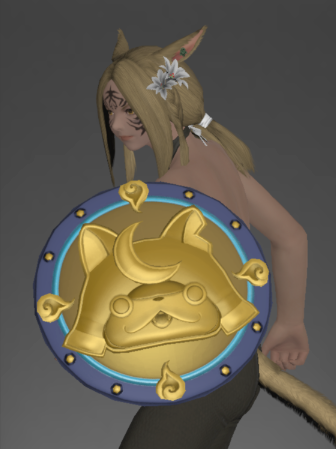 Buckler of the Legendary Cat Gold Saucer
 -
-
-
-
-
 Longstop Hoplon (Brayflox's Longstop)
 -
-
 Qarn Kite Shield (Sunken Temple of Qarn)
 -
-
 Crier's Scutum (Cutter's Cry)
 -
-
-


Level 41-50
-
 Vigil Canopus Shield (Stone Vigil)
 -
-
-
-
-
-
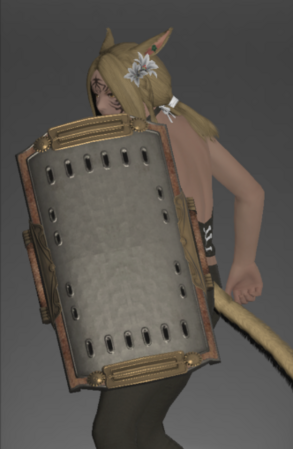
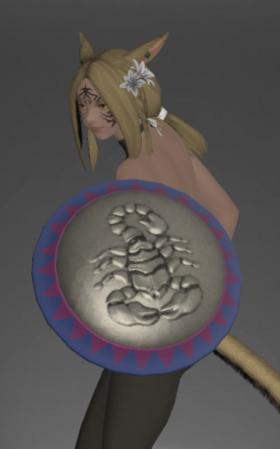 Scorpion Shield (Dzemael Darkhold)
 -
-

-
-
 Canopus Shield (Aurum Vale)
 -
 Skjoldr Gold Saucer
 -
-
-
 Senor Sabotender's Shield Gold Saucer
 -
 Darklight Kite Shield (Wanderer's Palace, Amdapor Keep)
 -
 Darklight Square Shield (Wanderer's Palace, Amdapor Keep)
 -
 Wolf Kite Shield PvP
 -
-
 The Wall of Crags (The Navel Hard)
 -
-

-
 Onion Shield (Extreme ARR Trials)
 -
 Allagan Round Shield (Binding Coil of Bahamut 5)
 -
-
 Wave Shield (Whorleater Extreme)
 -
 Lionsmane Shield PvP
 -
 Thunderhead (Striking Tree Extreme)
 -
 Tidal Wave Shield (Whorleater Extreme)
 -
-
 Lionliege Shield PvP
 -

-
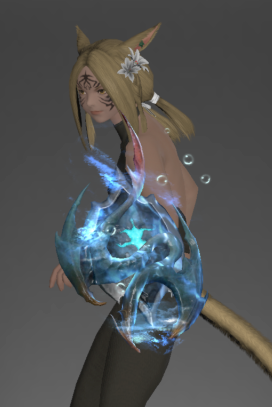
 True Ice Shield (Akh Afah Amphitheatre Extreme)
 -
-
 High Allagan Kite Shield (Second Coil of Bahamut 4)
 -
-
 Shiva's Diamond Shield (Akh Afah Amphitheatre Extreme)
 -

-
 Dreadwyrm Shield (Final Coil of Bahamut 4)


Level 51-60
-
 Martial Shield (Dusk Vigil)
 -
-
 Woad Skyraider's Shield (Sohm Al)
 -

-
 Svalin (The Aery)
 -
-
 Halonic Inquisitor's Shield (The Vault)
 -
-
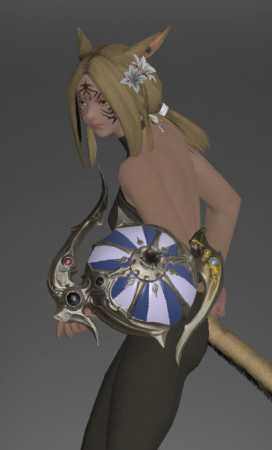
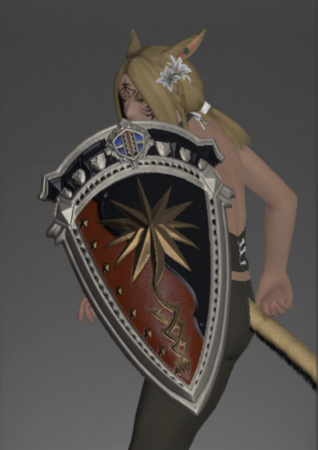 The Southern Sun (Great Gubal Library)
 -
 Baldur Shield (Neverreap, Fractal Continuum)
 -
 Expanse Shield (Limitless Blue Extreme)
 -
-
-
-
-
-
-
-
-
-
 Hive Scutum (Thok ast Thok Extreme)
 -
 Shield of the Heavens (Minstrel: Thordan's Reign)
 -
-
 Gordian Shield (Burden of the Father Savage)
 -
 Shield of the Sephirot (Containment Bay S1T7 Extreme)
 -
 Horde Shield (Minstrel: Nidhogg's Rage)
 -
 Heroic Spirit Shield (Invisible) PvP
 -
 Padjali Shield (Palace of the Dead)
 -
-
 Midan Metal Shield (Burden of the Son Savage)
 -
-
-
 Kinna Shield (Palace of the Dead)
 -
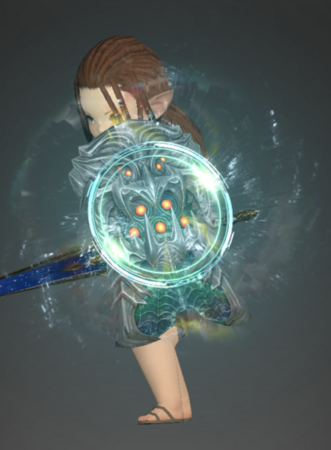
 Sophic Shield (Containment Bay P1T6 Extreme)
 -
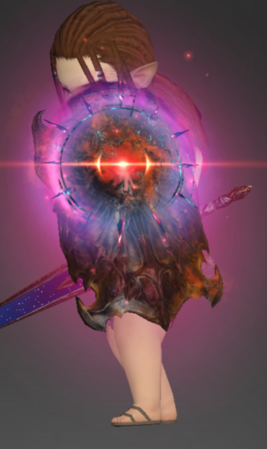
 Zurvanite Shield (Containment Bay P1T6 Extreme)
 -
-
 Alexandrian Metal Buckler (Soul of the Creator Savage)


Anima Weapons


Level 61-70
-
 Ghost Barque Shield (Sirensong Sea)
 -
-
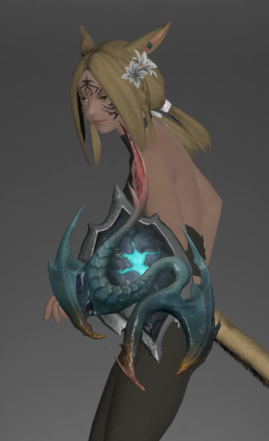
 Ruby Tide Shield (Shisui of the Violet Tides)
 -

-
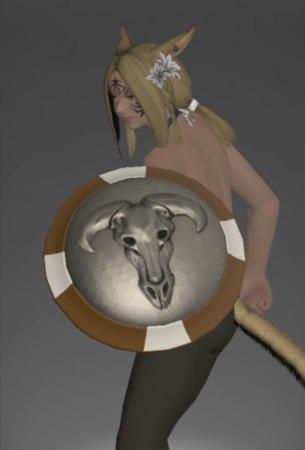
 Mol Shield (Bardam's Mettle)
 -
-
 Yanxian Shield (Doma Castle)
 -
-
 Ritter Shield (Castrum Abania)
 -
-

-
-
-
-

-
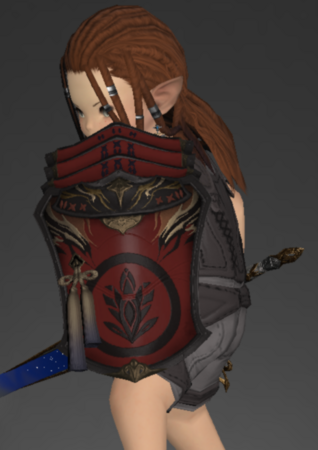
 Shield of the Crimson Lotus (Ala Mhigo, Kugane Castle, Temple of the Fist)
 -
 Ala Mhigan Tower Shield Centurio Seals
 -

-
 Susano's Shield (Pool of Tribute Extreme)
 -
 Augmented Lost Allagan Shield Poetics
 -
Shinryu's Shield (Minstrel: Shinryu's Domain)
-
Genji Shield (Deltascape 4 Savage)
-
 Ultimate Dreadwyrm Shield (Unending Coil of Bahamut Ultimate)
 -
-
 Byakko's Shield (Jade Stoa Extreme)
 -
-
Empyrean Shield (Heaven-on-High)
-
 Tsukuyomi's Shield (Minstrels: Tsukuyomi's Pain)
 -
Diamond Shield (Sigmascape 4 Savage)
-
 Holy Shield Ultima (Weapon's Refrain Ultimate)
 -
-
-
Suzaku's Shield (Hells' Kier Extreme)
-
 Seiryu's Shield (Wreath of Snakes Extreme)
 -
-
Omega Shield (Alphascape 4 Savage)


Eurekan Weapons


Level 71-80
-
 Lakeland Kite Shield (Holminster Switch)
 -
-
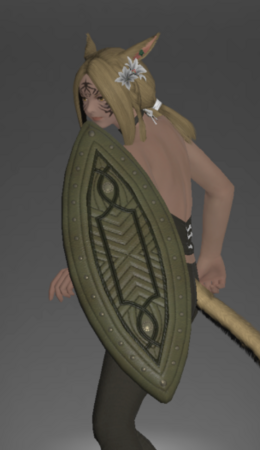
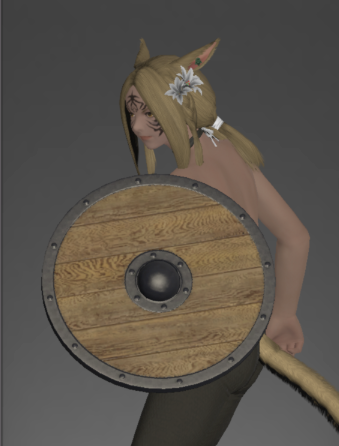
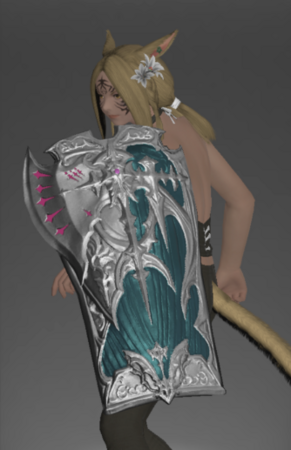
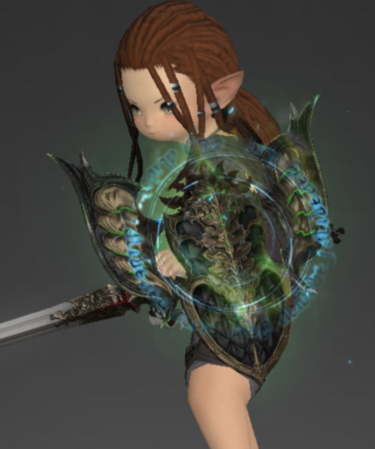
 Fae Shield (Dohn Mheg)
 -
-
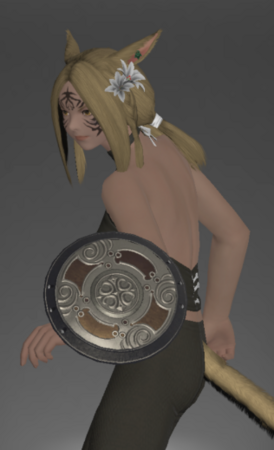
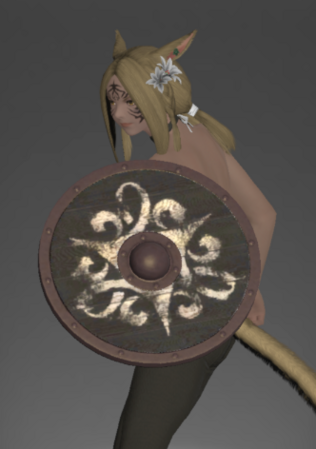
 Ravel Keeper's Shield (Qitana Ravel)
 -

-
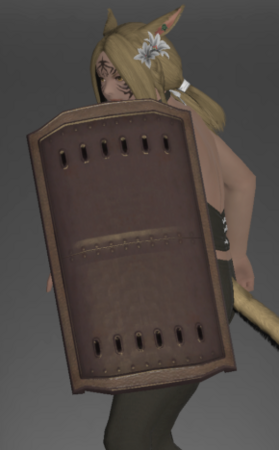
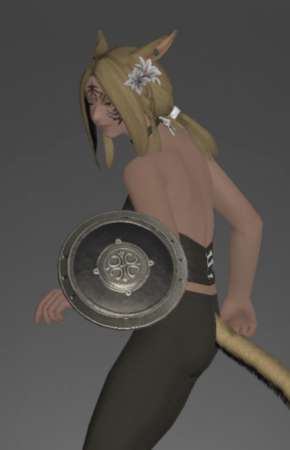
 Nabaath Shield (Malikah's Well)
 -

-
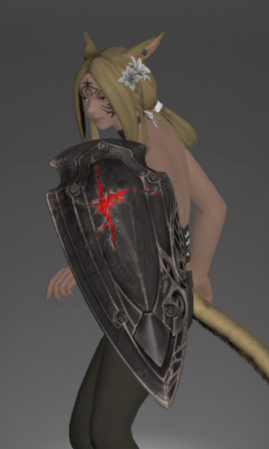
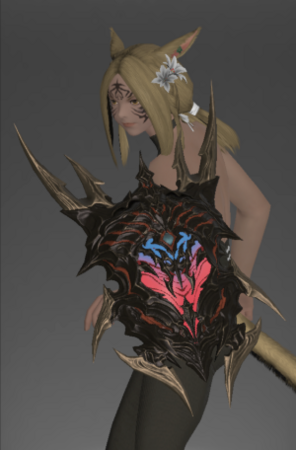
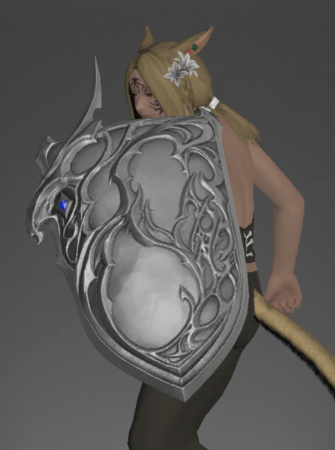
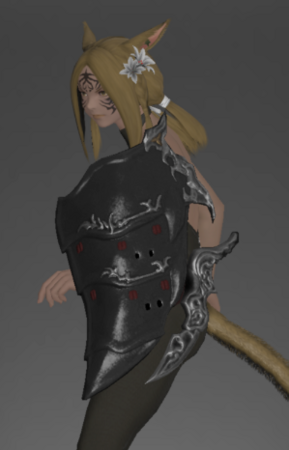
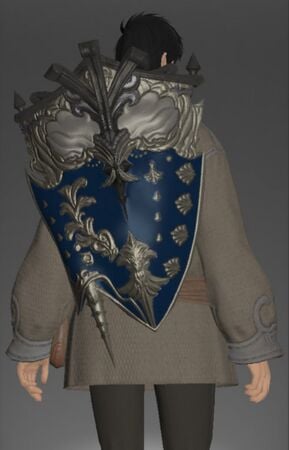
Shield of the Forgiven (Mt. Gulg)
-
-

-
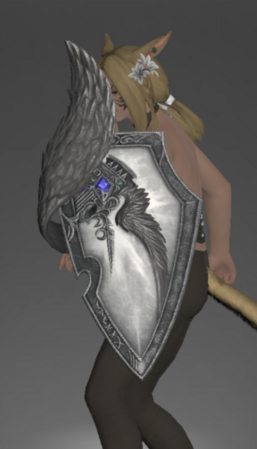
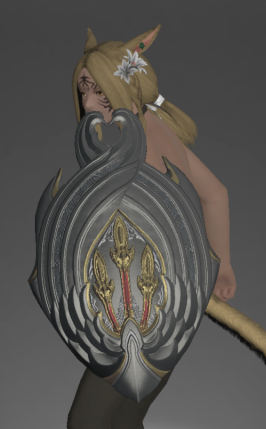
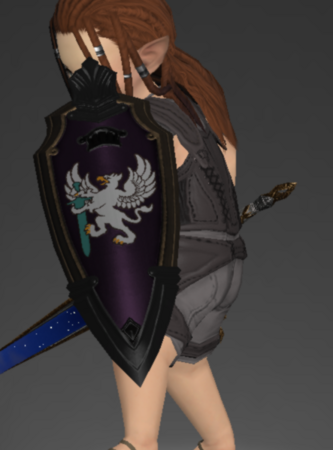
 Srivatsa Role Quest
 -
-
-

-
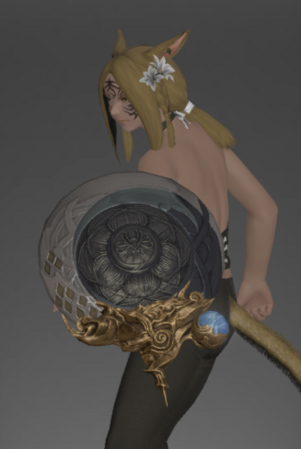
 Ronkan Kite Shield
 Hunt
Hunt -

-
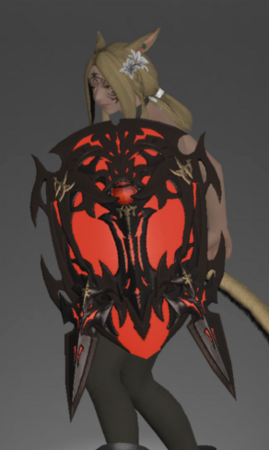
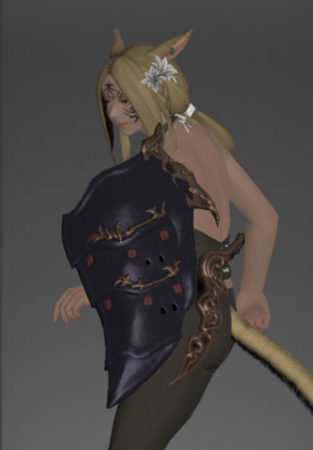
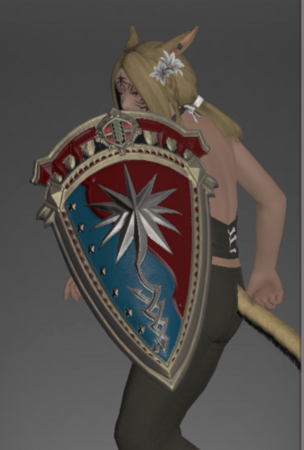
 The King's Shield (Dancing Plague Extreme)
 -
-
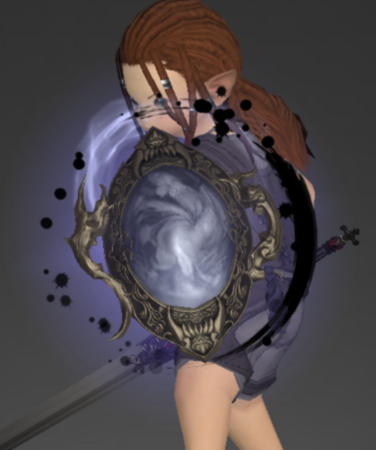
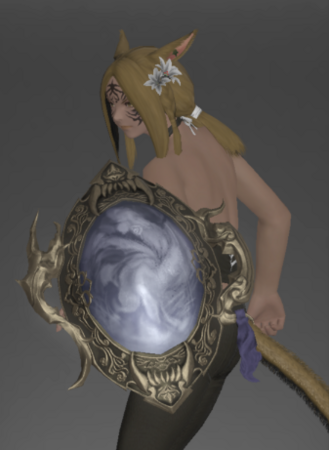
Eulabeia (Minstrel: Hades's Elegy)
-
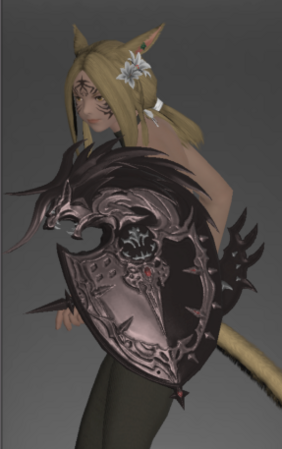
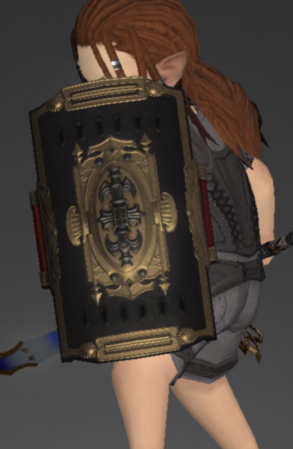
 Edengrace Shield (Sepulture Savage)
 -
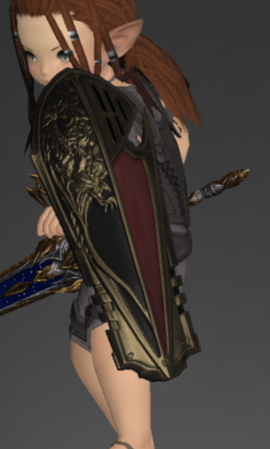
 Ultimate Ancile (Epic of Alexander Ultimate)
 -
-
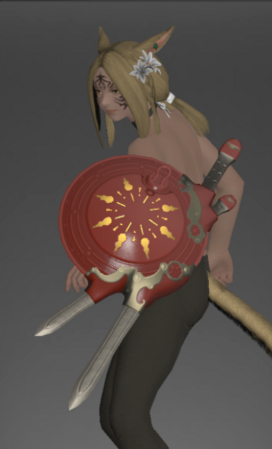
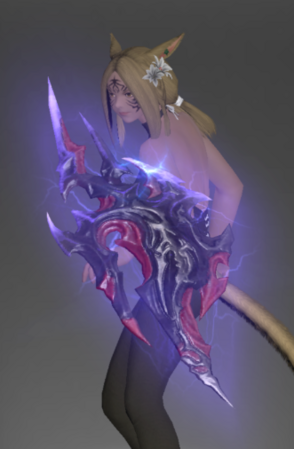
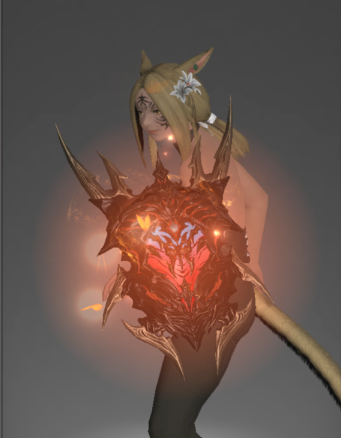
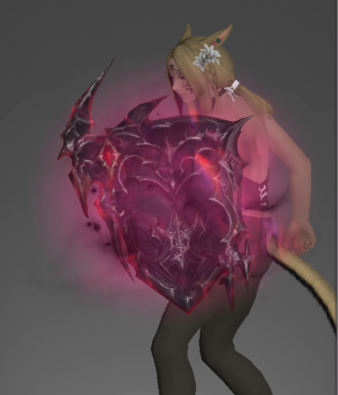
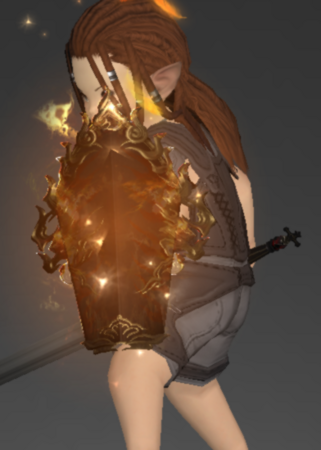
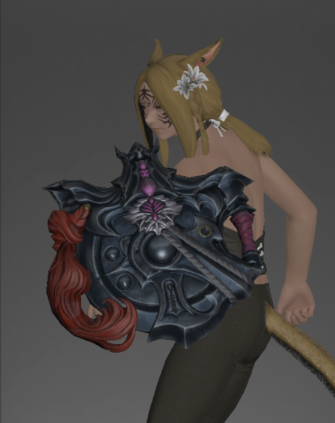
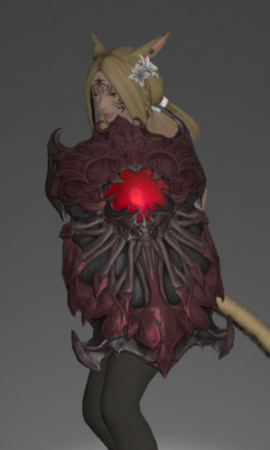 Ruby Scutum (Cinder Drift Extreme)
 -
-
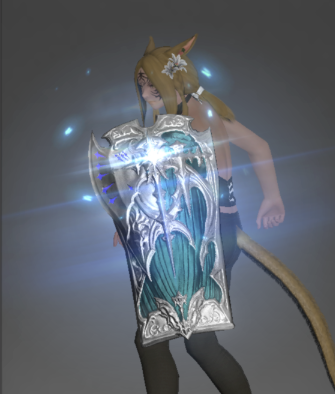
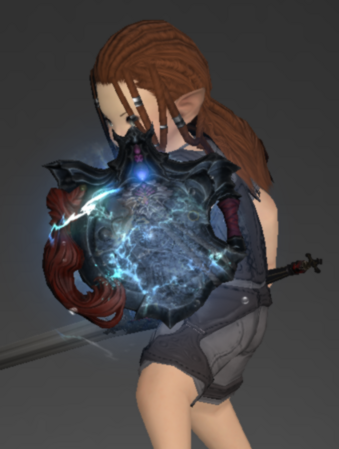
 Shield of Light (Seat of Sacrifice Extreme)
 -
Edenchoir Scutum (Refulgence Savage)
-
-
 Emerald Shield (Castrum Marinum Extreme)
 -
-
-
 Diamond Zeta Scutum (Cloud Deck Extreme)
 -
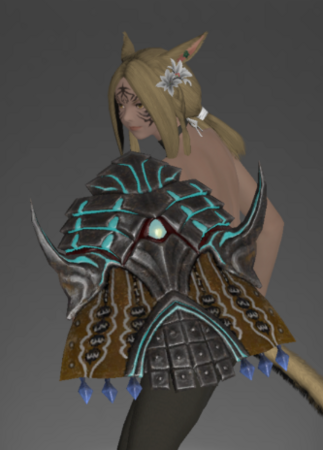
Edenmorn Scutum (Eternity Savage)


Resistance Weapons


Level 81-90
-
Monstrorum Shield (Tower of Zot)
-
-
Imperial Magitek Shield (Tower of Babil)
-
-
 Palaka Pelta (Vanaspati)
 -
-
Ktiseos Shield (Ktisis Hyperboreia)
-
-
-
-
Moonward Kite Shield Hunt
-
-
Shield of Divine Light (Minstrel: Hydaelyn's Call)
-
Bluefeather Shield (Minstrel: Endsinger's Aria)
-
-
Asphodelos Shield (Asphodelos 4 Savage)
-
Ultimate Shield of the Heavens (Dragonsong Ultimate)
-
-
Windswept Shield (Storm's Crown Extreme)
-
Orthos Shield (Eureka Orthos)
-
Enaretos Shield (Eureka Orthos)
-
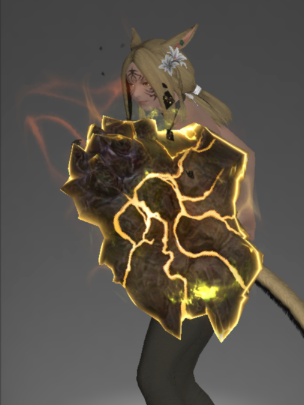
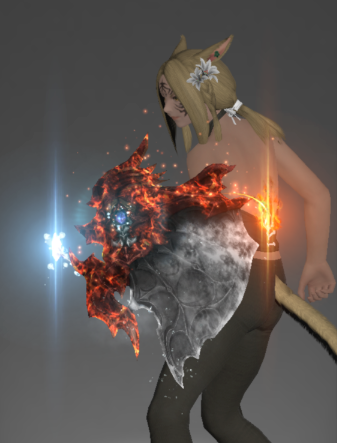
Flamecloaked Scutum (Mount Ordeals Extreme)
-
-
Abyssos Shield (Abyssos 8 Savage)
-
 Ultimate Omega Shield (Omega Protocol Ultimate)
 -
-
-
Voidcast Kite Shield (Voidcast Dais Extreme)
-
 Voidvessel Kite Shield (Abyssal Fracture Extreme)
 -
-
Exquisite Vessel (Another Aloalo Island Savage)
-
Kite Shield of Ascension (Anabaseios 12 Savage)


Manderville Weapons


Level 91-100
-
 Riversbreath Shield (Ihuykatumu)
 -

-
 Zormor Round Shield (Worqor Zormor)
 -
-
Skydeep Kite Shield (Skydeep Cenote)
-
-
 Vanguard Shield (Vanguard)
 -

-
-
-

-
 Skyruin Shield (Worqor Lar Dor Extreme)
 -
 Quetzalli Kite Shield (Tomestones of Heliometry)
 -
Shield Eternal (Minstrel: Sphene's Burden)
-
Dark Horse Champion's Kite Shield (Light-heavyweight M4 Savage)
-
Ultimate Edenmorn Scutum (Futures Rewritten)
-
-
Queensknight Shield (Recollection Extreme)
-
Historia Hoplon (Tomestones of Mathematics)
-
Babyface Champion's Shield (Cruiserweight Savage)


