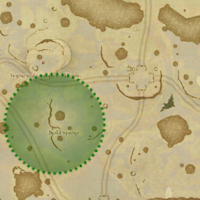
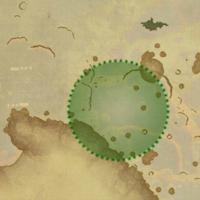
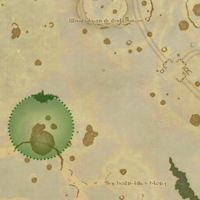
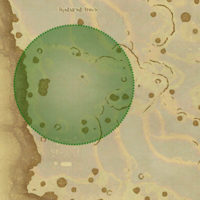
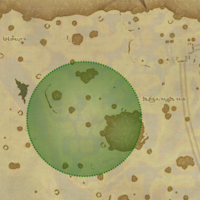
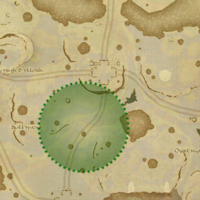
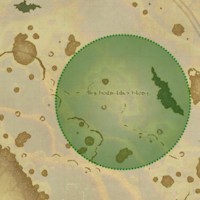
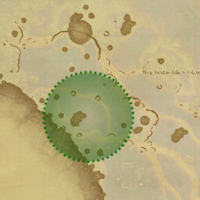
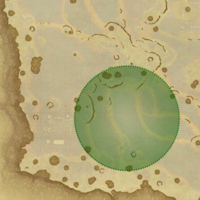
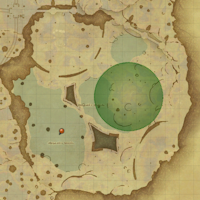
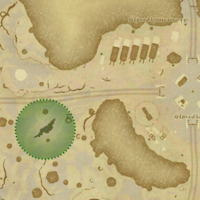
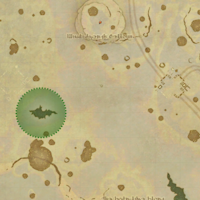
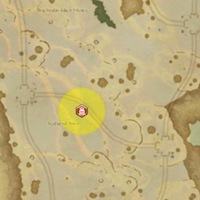
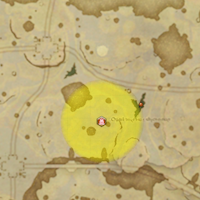
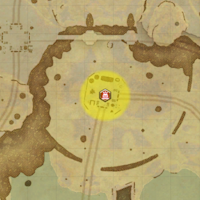
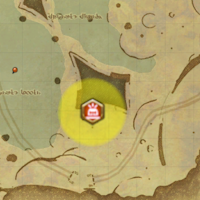
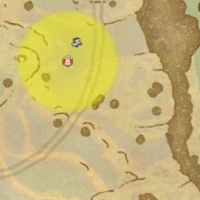
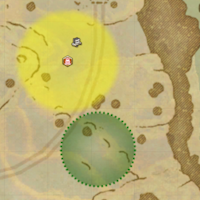
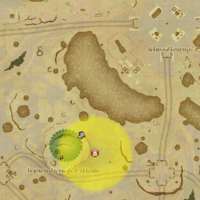
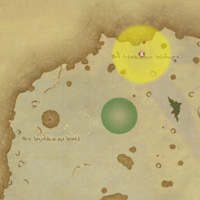
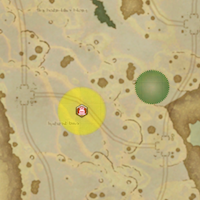
| Map 50 |
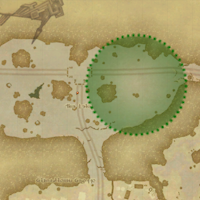
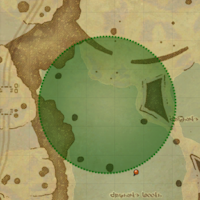
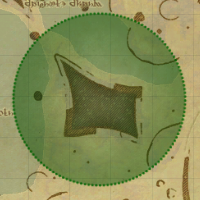
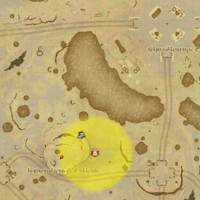
MIN |

- Location
- The Lehr
- Gathering Nodes
- (X:29.9, Y:5.3)
(X:29.0, Y:7.3)
(X:30.4, Y:7.0)
|
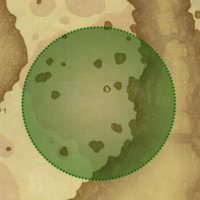
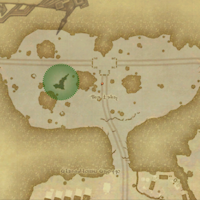
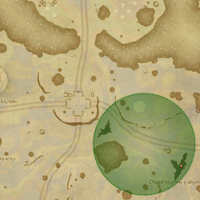
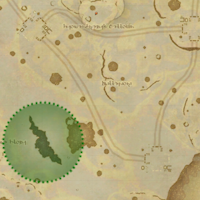
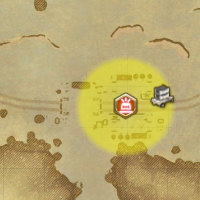
| Map 51 |
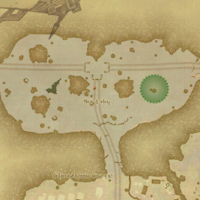
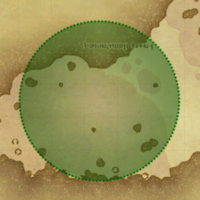
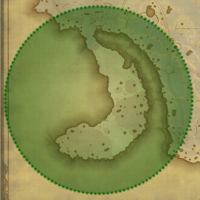
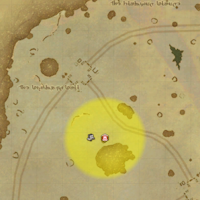
MIN |

- Location
- The Lehr
- Gathering Nodes
- (X:29.8, Y:7.1) to
(X:30.0, Y:6.2)
|
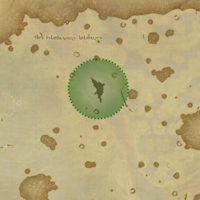
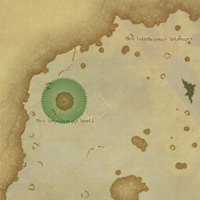
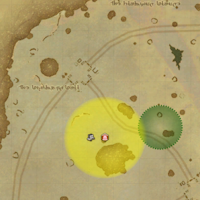
| Map 52 |
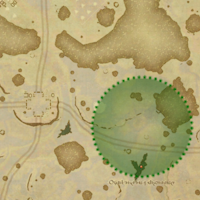
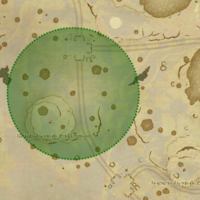
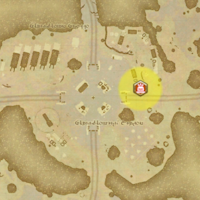
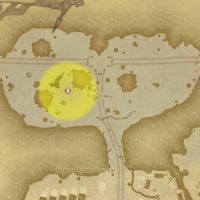
MIN |

- Location
- Millefiori
- Gathering Nodes
- (X:31.1, Y:19.8)
(X:32.7, Y:19.0)
(X:32.9, Y:20.8)
|
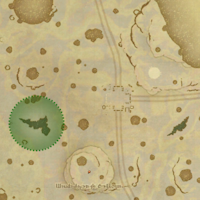
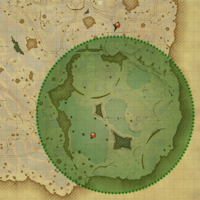
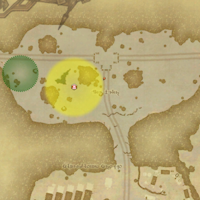
| Map 53 |
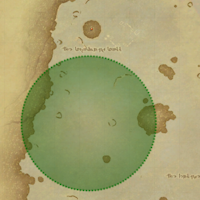
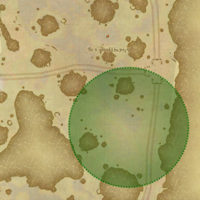
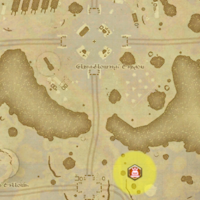
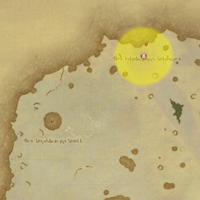
MIN |

- Location
- The Saltpeter Shore
- Gathering Nodes
- (X:7.9, Y:13.5)
(X:8.2, Y:12.3)
(X:6.5, Y:11.0)
|
| Map 54 |
MIN |

- Location
- Millefiori
- Gathering Nodes
- (X:28.4, Y:19.7)
(X:28.2, Y:21.6)
(X:26.7, Y:20.1)
|
| Map 55 |
MIN |

- Location
- Millefiori
- Gathering Nodes
- (X:24.4, Y:21.3) to
(X:24.3, Y:19.9)
|
| Map 56 |
MIN |

- Location
- The Iridized Rise
- Gathering Nodes
- (X:13.9, Y:22.9)
(X:15.7, Y:22.6)
(X:15.5, Y:24.3)
|
| Map 57 |
MIN |

- Location
- The Soda-lime Float
- Gathering Nodes
- (X:16.0, Y:20.6) to
(X:17.0, Y:21.1)
|
| Map 58 |
MIN |

- Location
- The Iridized Rise
- Gathering Nodes
- (X:20.0, Y:30.9)
(X:19.0, Y:32.1)
(X:20.8, Y:32.8)
|
| Map 59 |
MIN |

- Location
- Capsule Pools
- Gathering Nodes
- (X:27.6, Y:30.6)
(X:28.2, Y:29.3)
(X:29.8, Y:30.8)
|
| Map 60 |
MIN |

- Location
- Fusingway Vent
- Gathering Nodes
- (X:11.7, Y:34.0)
(X:9.3, Y:34.0)
(X:10.2, Y:35.3)
|
| Map 61 |
BTN |

- Location
- Millefiori
- Gathering Nodes
- (X:18.7, Y:14.7)
(X:19.8, Y:16.3)
(X:20.7, Y:14.5)
|
| Map 62 |
BTN |

- Location
- Millefiori
- Gathering Nodes
- (X:22.2, Y:14.3) to
(X:23.4, Y:13.8)
|
| Map 63 |
BTN |

- Location
- The Chillmark
- Gathering Nodes
- (X:35.8, Y:14.0)
(X:34.4, Y:15.1)
(X:37.1, Y:15.7)
|
| Map 64 |
BTN |

- Location
- Marver Mesa
- Gathering Nodes
- (X:15.5, Y:9.9)
(X:14.4, Y:10.1)
(X:15.1, Y:7.8)
|
| Map 65 |
BTN |

- Location
- Millefiori
- Gathering Nodes
- (X:27.7, Y:20.4)
(X:26.8, Y:21.9)
(X:28.5, Y:23.1)
|
| Map 66 |
BTN |

- Location
- Millefiori
- Gathering Nodes
- (X:27.7, Y:20.5)
(X:26.2, Y:20.9)
(X:27.9, Y:21.8)
|
| Map 67 |
BTN |

- Location
- The Iridized Rise
- Gathering Nodes
- (X:20.0, Y:24.9)
(X:18.9, Y:23.8)
(X:21.1, Y:22.9)
|
| Map 68 |
BTN |

- Location
- The Iridized Rise
- Gathering Nodes
- (X:17.3, Y:25.4)
(X:16.5, Y:25.8)
(X:16.3, Y:24.6)
|
| Map 69 |
BTN |

- Location
- The Iridized Rise
- Gathering Nodes
- (X:21.4, Y:33.8)
(X:21.8, Y:35.3)
(X:23.2, Y:33.7)
|
| Map 70 |
BTN |

- Location
- Capsule Chasm
- Gathering Nodes
- (X:35.6, Y:29.9)
(X:34.4, Y:29.0)
(X:33.3, Y:30.7)
|
| Map 71 |
BTN |

- Location
- Fusingway Vent
- Gathering Nodes
- (X:13.7, Y:32.3)
(X:15.8, Y:31.5)
(X:14.7, Y:33.7)
|
| Map 72 |
FSH |

- Location
- The Lehr
- Fishing Spot
- (X:{{{location-x}}}, Y:{{{location-y}}})
|
| Map 73 |
FSH |

- Location
- West Beaconveil
- Fishing Spot
- (X:{{{location-x}}}, Y:{{{location-y}}})
|
| Map 74 |
FSH |

- Location
- The Opalescent Crossing
- Fishing Spot
- (X:{{{location-x}}}, Y:{{{location-y}}})
|
| Map 75 |
FSH |

- Location
- The Upper Soda-lime Float
- Fishing Spot
- (X:{{{location-x}}}, Y:{{{location-y}}})
|
| Map 76 |
FSH |

- Location
- The Central Soda-lime Channel
- Fishing Spot
- (X:{{{location-x}}}, Y:{{{location-y}}})
|
| Map 77 |
FSH |

- Location
- The Western Soda-lime Tributary
- Fishing Spot
- (X:{{{location-x}}}, Y:{{{location-y}}})
|
| Map 78 |
FSH |

- Location
- The Lower Soda-lime Float
- Fishing Spot
- (X:{{{location-x}}}, Y:{{{location-y}}})
|
| Map 79 |
FSH |

- Location
- The Prismatic Pull
- Fishing Spot
- (X:{{{location-x}}}, Y:{{{location-y}}})
|
| Map 80 |
FSH |

- Location
- Capsule Pools
- Fishing Spot
- (X:{{{location-x}}}, Y:{{{location-y}}})
(Fishable areas are marked in blue.)
|
| Map 81 |
FSH |

- Location
- The Bubble Bursters
- Fishing Spot
- (X:{{{location-x}}}, Y:{{{location-y}}})
- Turn-in
- (X:32.5, Y:34.1)
(Fishable areas are marked in blue.)
|
| Map 82 |
FSH |

- Location
- Fusingway Flow
- Fishing Spot
- (X:{{{location-x}}}, Y:{{{location-y}}})
(Fishable areas are marked in blue.)
|
| Map 83 |
ALC |

- Location
- Glassblower's Beacon
- Turn-in
- (X:30.0, Y:12.6)
|
| Map 84 |
GSM |

- Location
- Millefiori
- Turn-in
- (X:30.1, Y:18.2)
|
| Map 85 |
GSM |

- Location
- Millefiori
- Turn-in
- (X:24.9, Y:17.3)
|
| Map 86 |
ALC |

- Location
- The Saltpeter Shore
- Turn-in
- (X:9.2, Y:11.2)
|
| Map 87 |
CUL |

- Location
- The Lehr
- Turn-in
- (X:26.4, Y:7.5)
|
| Map 88 |
BSM |

- Location
- The Slumping Plunge
- Turn-in
- (X:11.4, Y:6.3)
|
| Map 89 |
CRP |

- Location
- The Iridized Rise
- Turn-in
- (X:21.5, Y:28.2)
|
| Map 90 |
ARM |

- Location
- Millefiori
- Turn-in
- (X:29.6, Y:22.1)
|
| Map 91 |
ARM |

- Location
- Capsule Chasm
- Turn-in
- (X:29.3, Y:25.6)
|
| Map 92 |
CUL |

- Location
- Capsule Chasm
- Turn-in
- (X:32.5, Y:34.1)
|
| Map 93 |
ARM |

- Location
- The Soda-lime Float
- Turn-in
- (X:24.6, Y:31.4)
|
| Map 94 |
ALC |

- Location
- The Saltpeter Shore
- Turn-in
- (X:11.8, Y:22.3)
|
| Map 95 |
MIN |

- Location
- The Saltpeter Shore
- Gathering Nodes
- (X:11.7, Y:10.3) to
(X:11.9, Y:11.2)
- Turn-in
- (X:9.2, Y:11.2)
|
| Map 96 |
MIN |

- Location
- The Glassblown Grotto
- Gathering Nodes
- (X:24.0, Y:6.1) to
(X:24.1, Y:6.9)
- Turn-in
- (X:26.4, Y:7.5)
|
| Map 97 |
MIN |

- Location
- The Soda-lime Float
- Gathering Nodes
- (X:25.0, Y:33.5)
(X:25.6, Y:34.1)
(X:24.7, Y:34.3)
- Turn-in
- (X:24.6, Y:31.4)
|
| Map 98 |
BTN |

- Location
- Millefiori
- Gathering Nodes
- (X:23.9, Y:17.7) to
(X:24.5, Y:18.0)
- Turn-in
- (X:24.9, Y:17.3)
|
| Map 99 |
BTN |

- Location
- The Slumping Plunge
- Gathering Nodes
- (X:10.7, Y:8.5) to
(X:9.7, Y:8.1)
- Turn-in
- (X:11.4, Y:6.3)
|
| Map 100 |
BTN |

- Location
- The Iridized Rise
- Gathering Nodes
- (X:24.5, Y:26.7) to
(X:24.5, Y:27.7)
- Turn-in
- (X:21.5, Y:28.2)
|
